Looking to repot your cannabis plants and grow a monster crop? I’ve repotted a lot of weed plants in my time and by following these guidelines I’ve never had an issue!
Cannabis plants, like all plants, require ample medium and grow space in order to reach the height and thickness of some of the plants you see in your grow books.
If you compare the size of a tree in the ground to a tree in an individual pot you’ll be able to see the huge difference pot size can make.
The following guide will help you to successfully repot your cannabis plant without needing too much cannabis equipment. Any suggestions to help new growers that I can add to this, please let me know in the comment section!
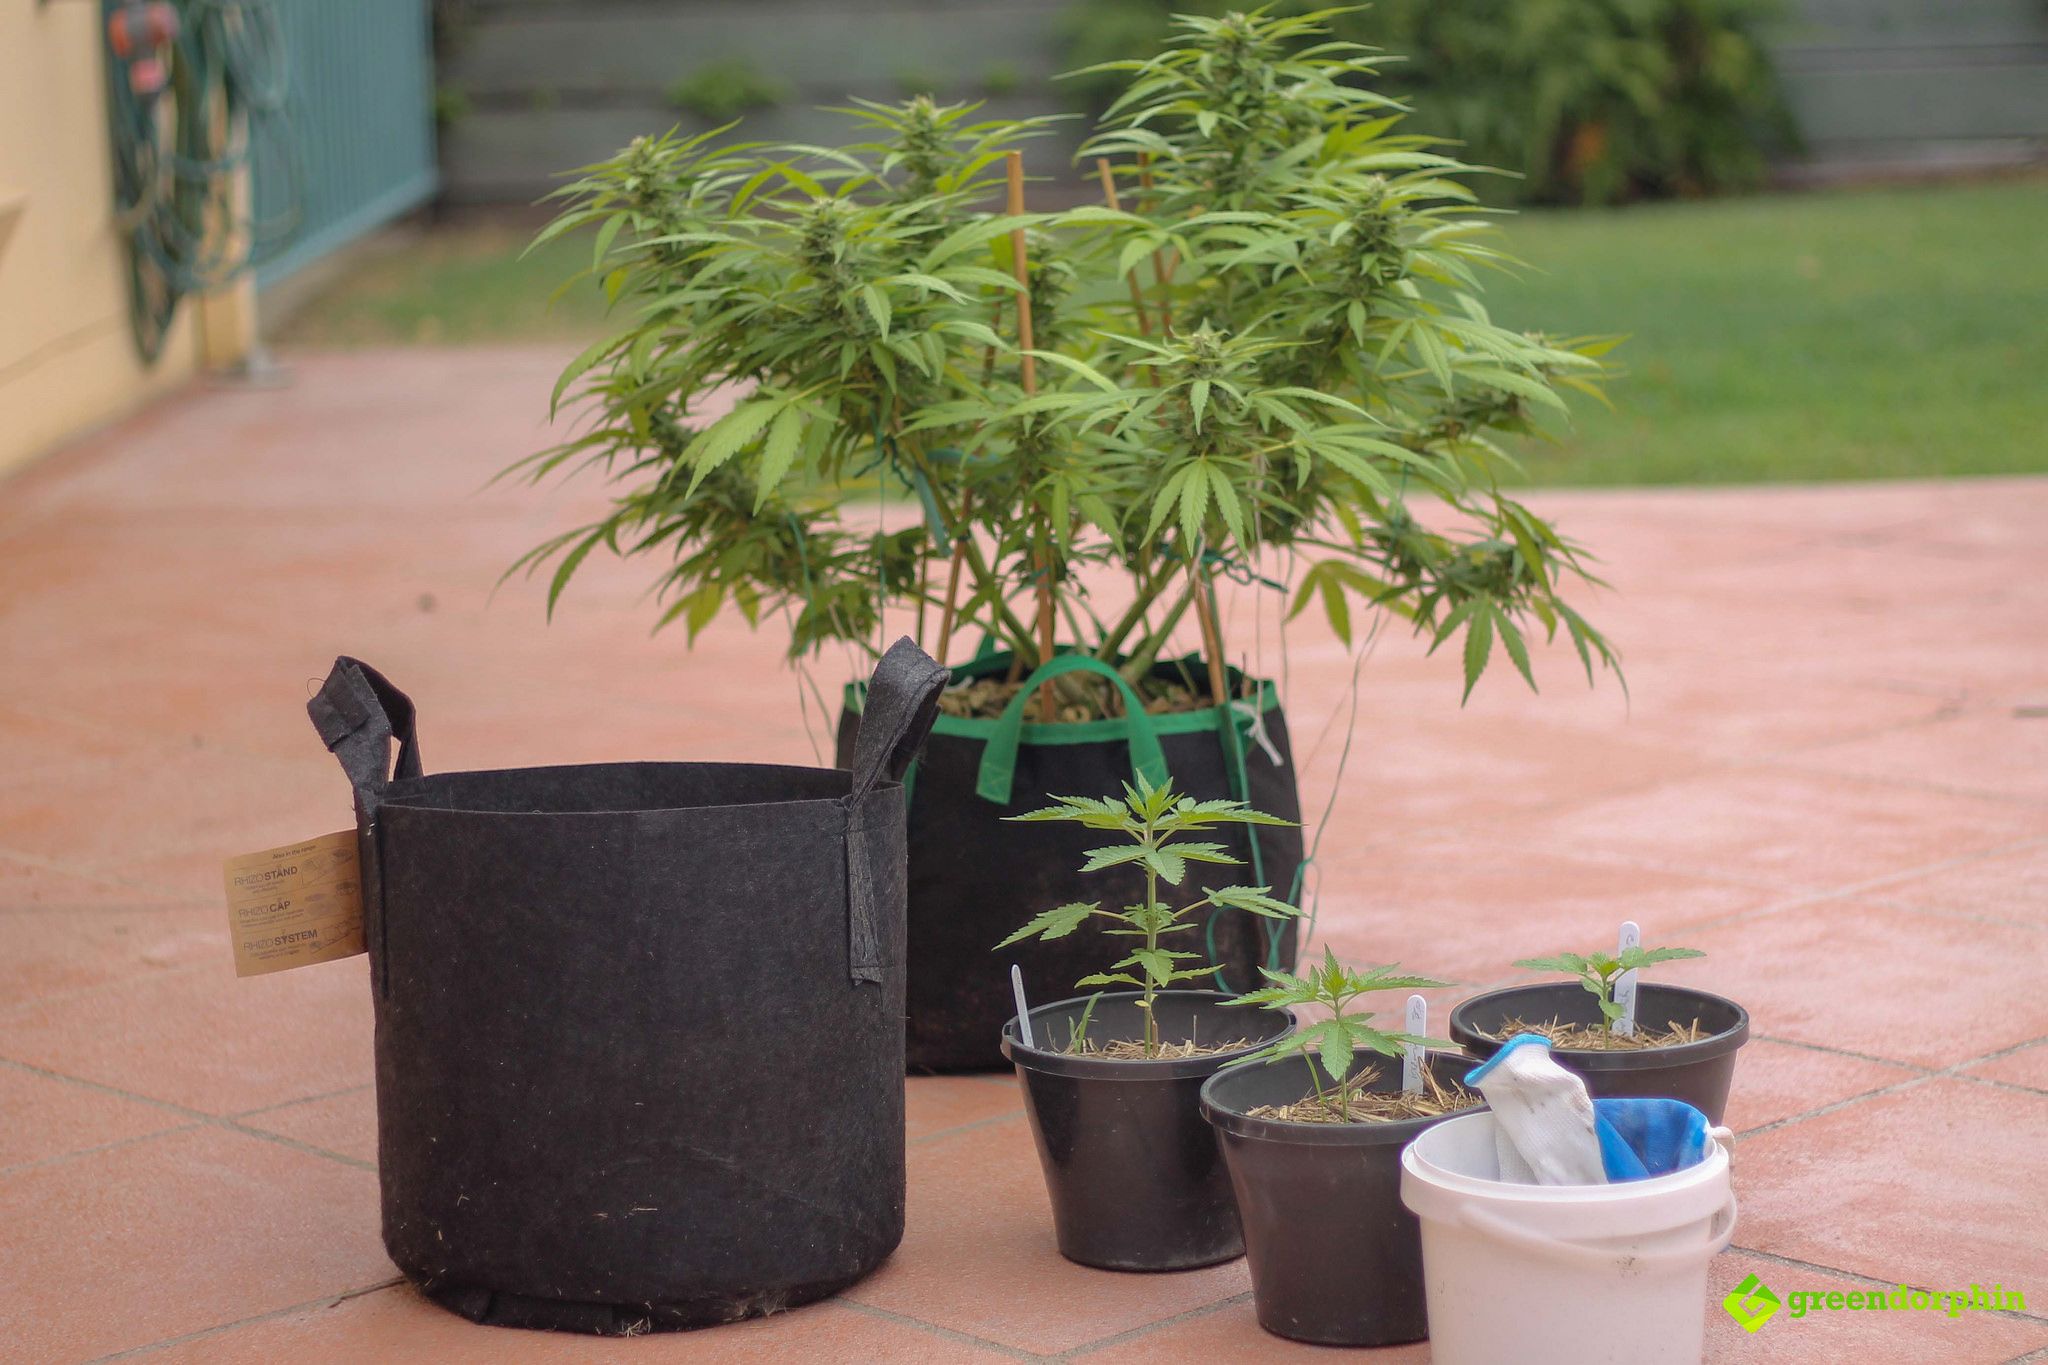
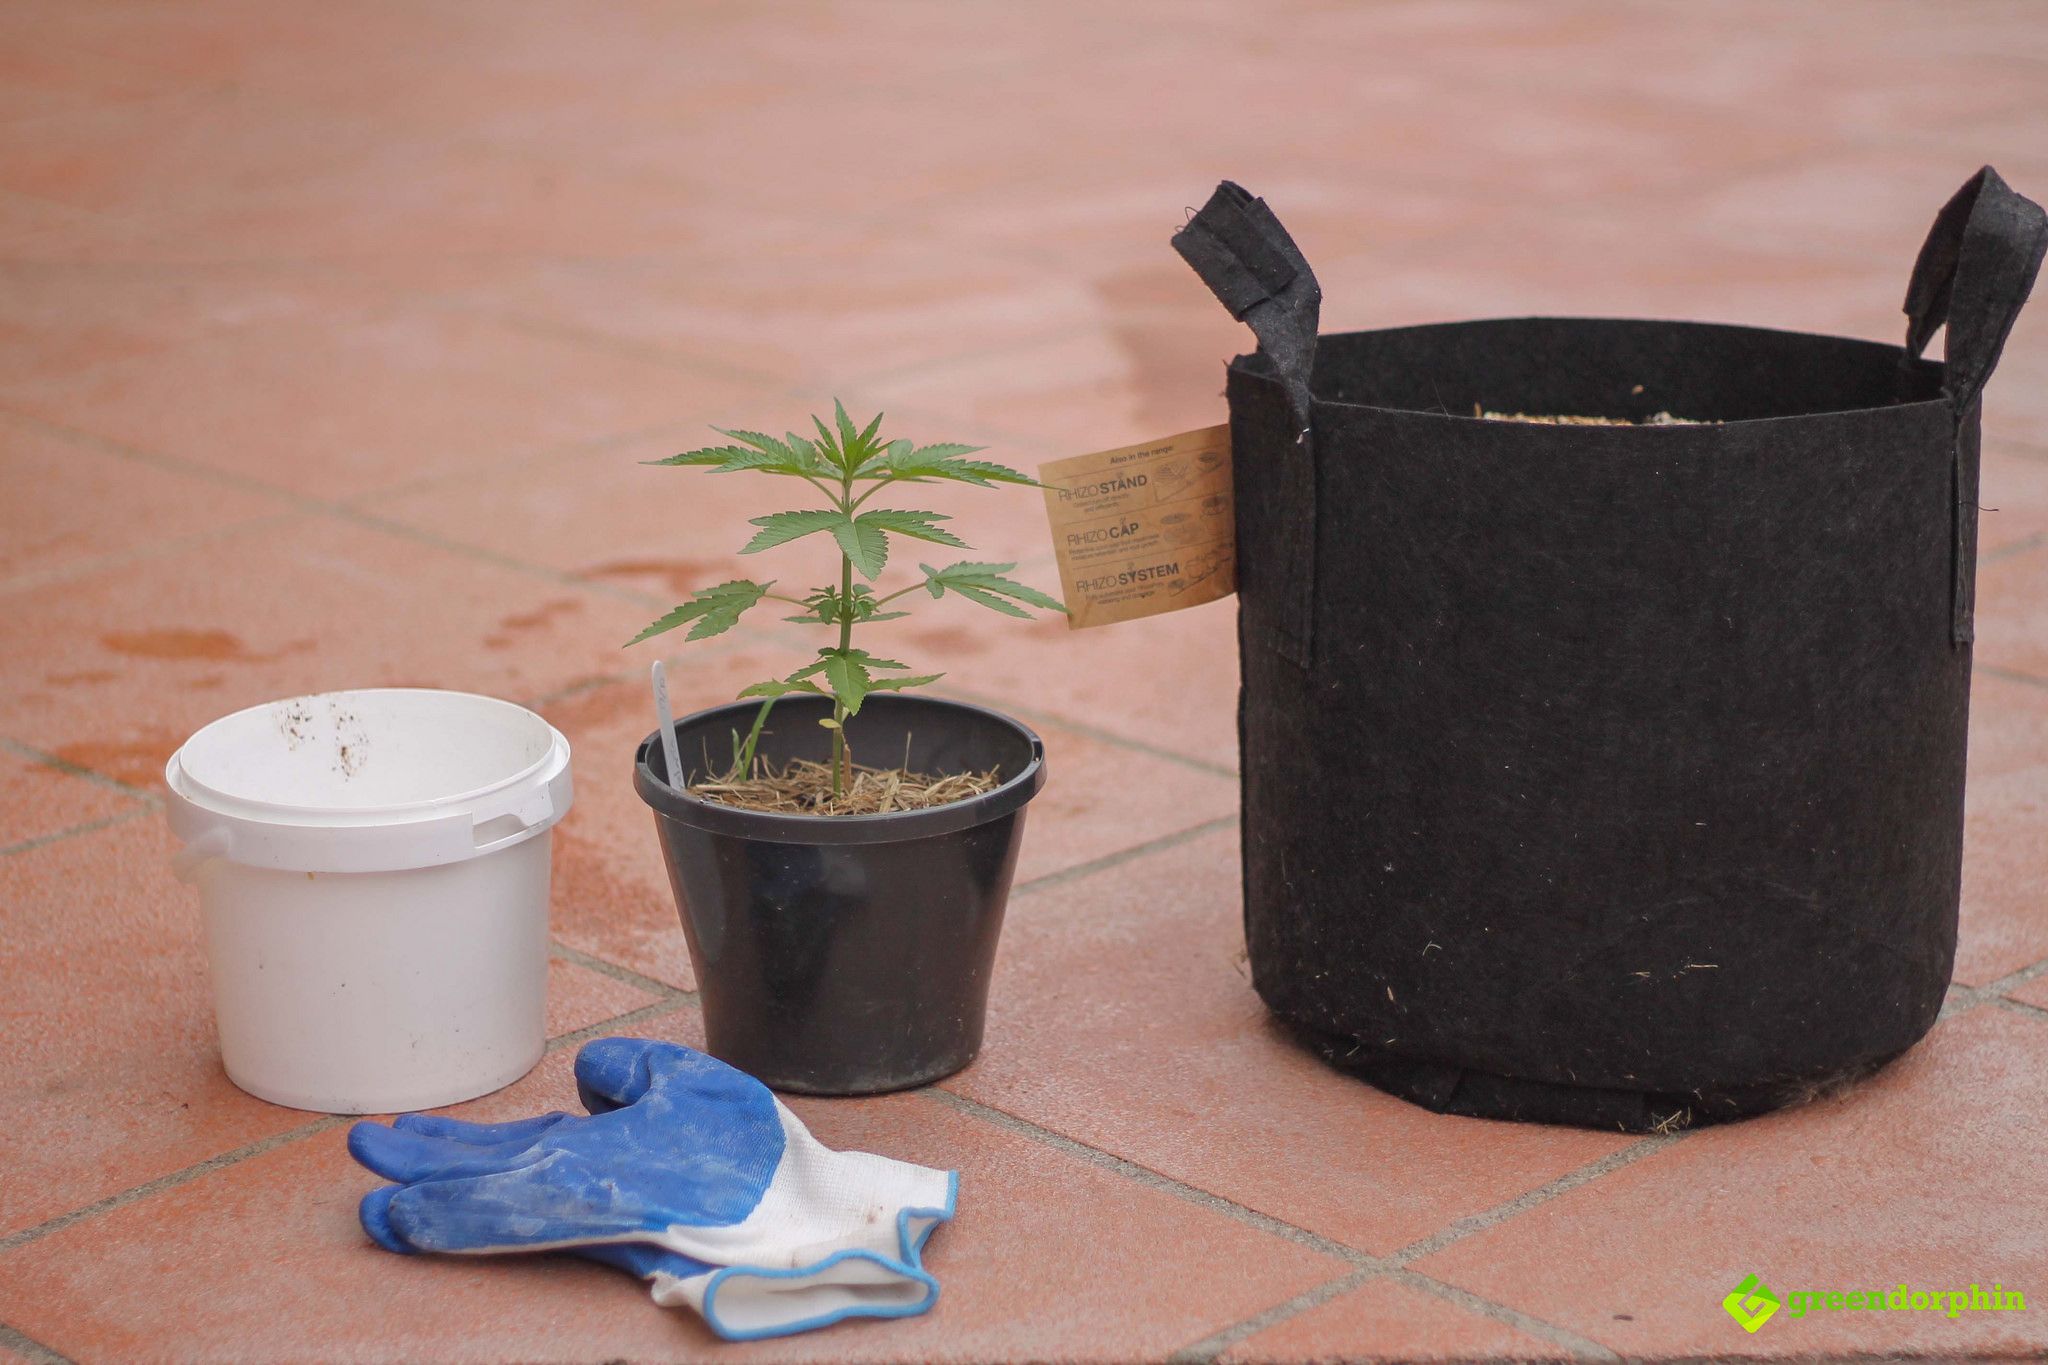
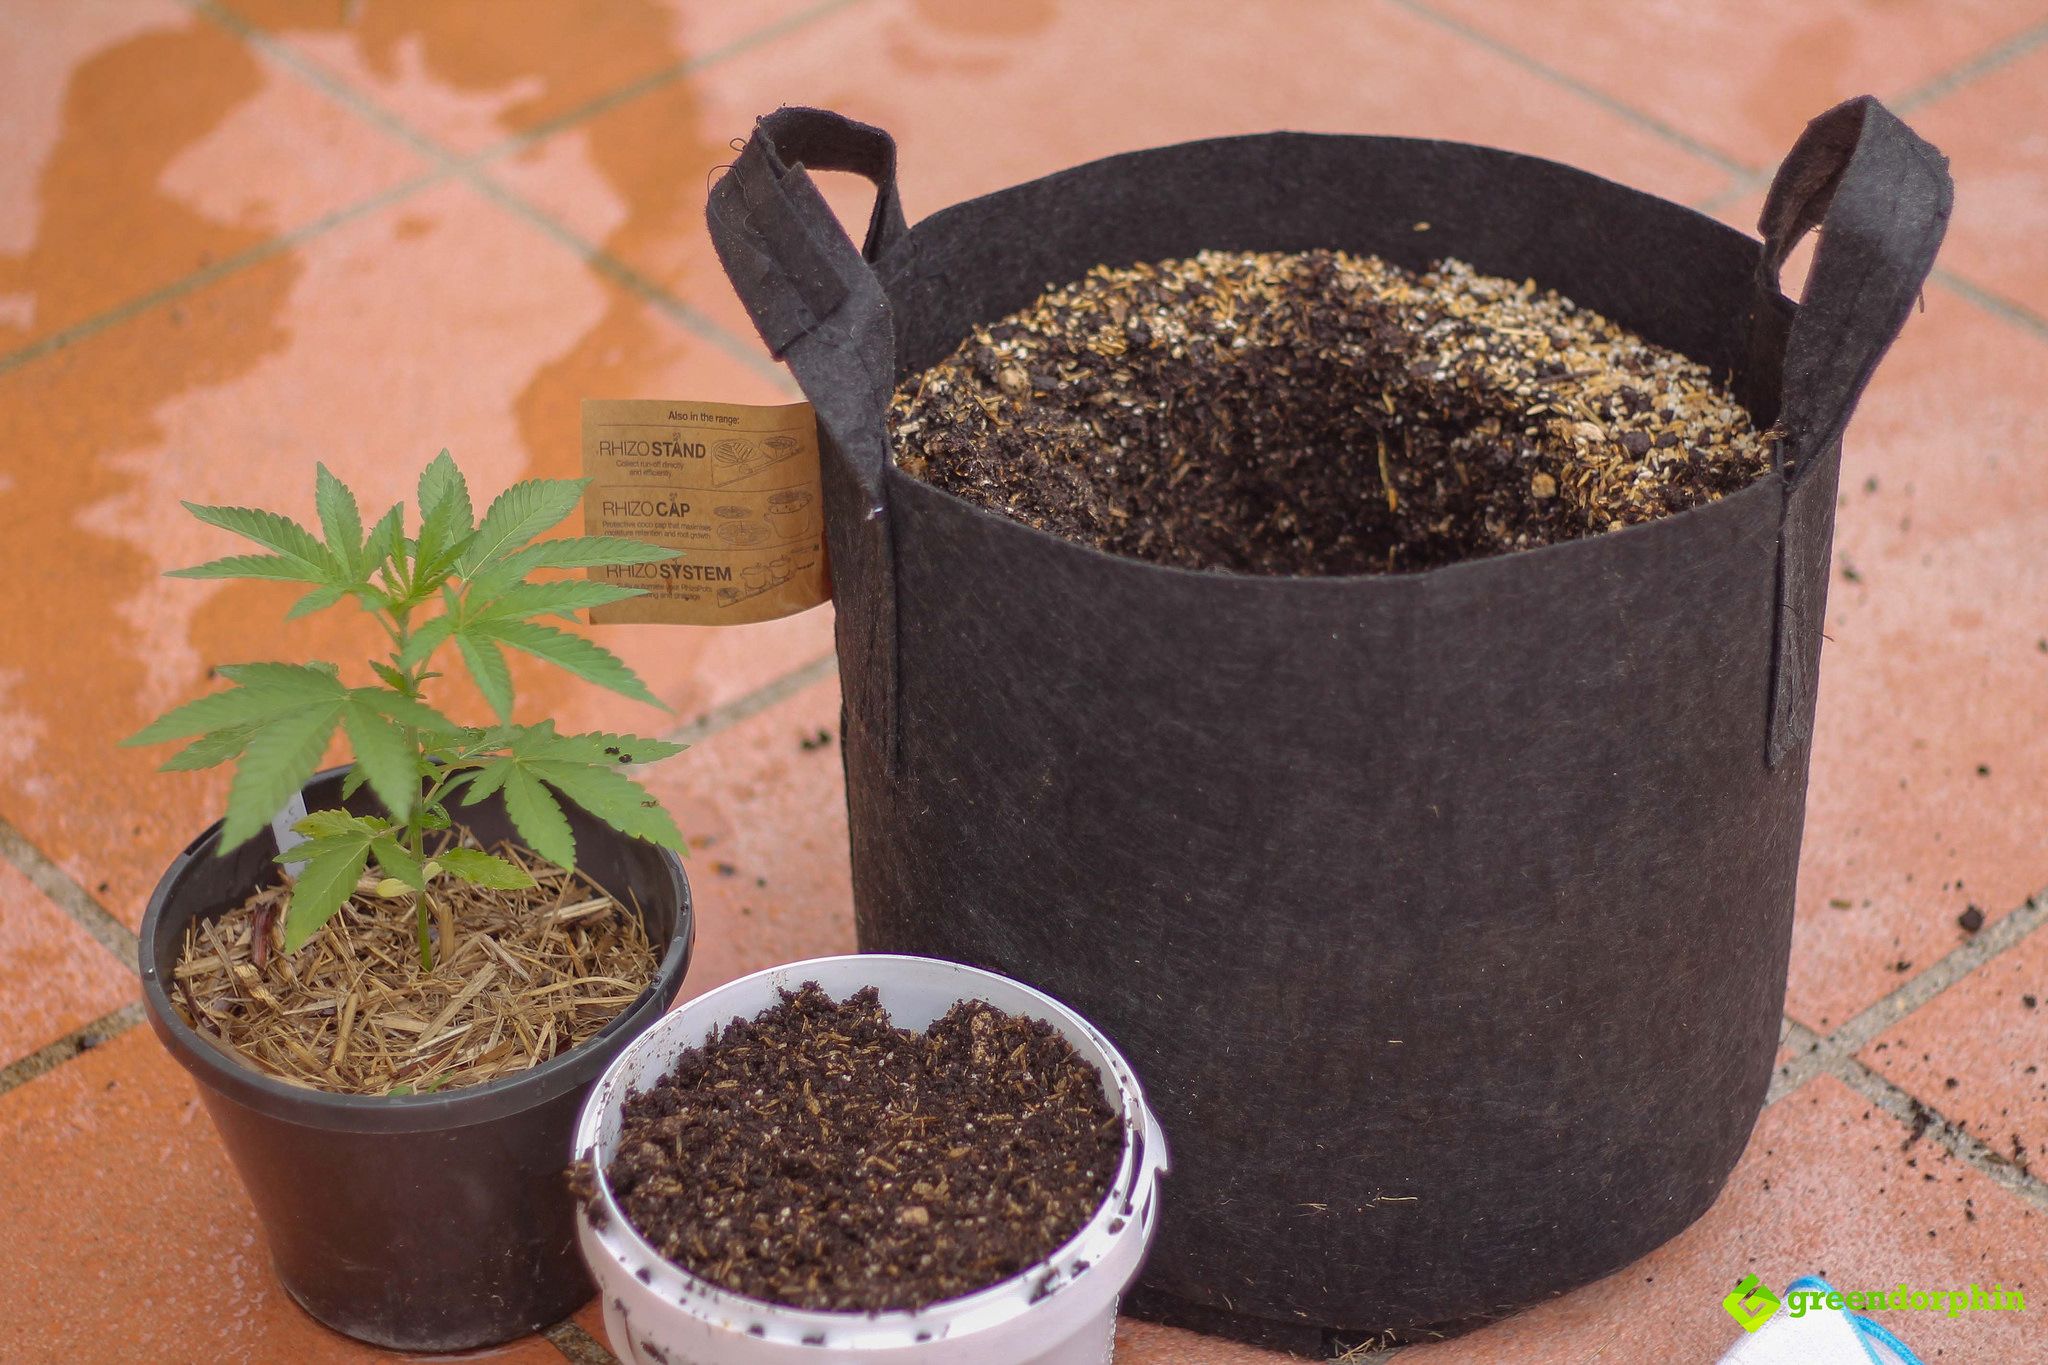
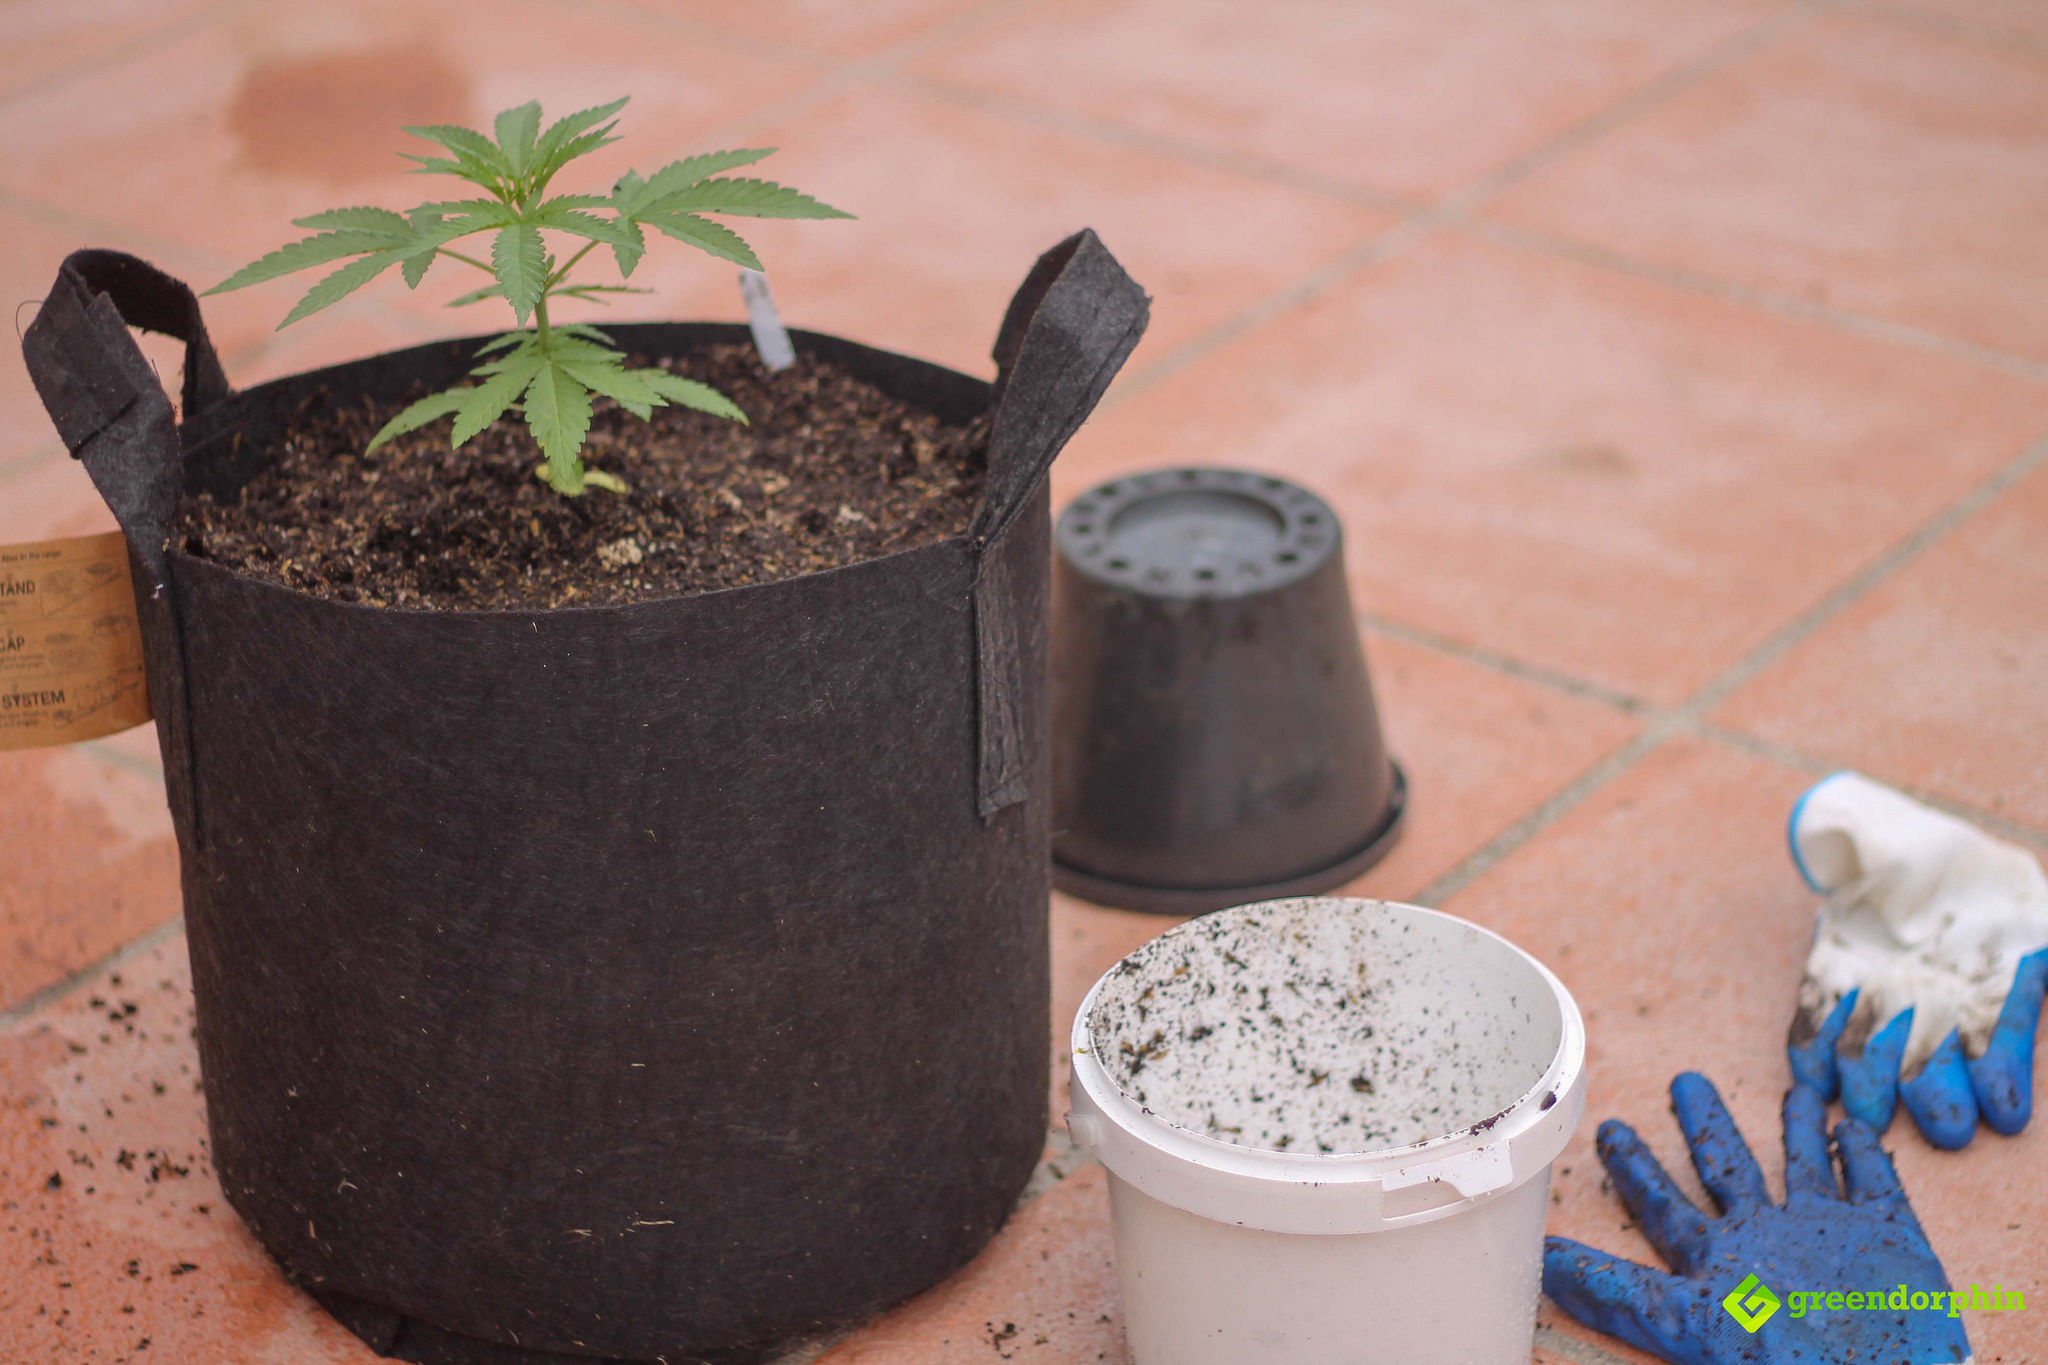
What you’ll need to repot your cannabis plants:
- a cannabis plant, approximately three weeks old if using a 2-gallon/7-liter pot
- a finishing pot, I went with a 5-gallon pot of organic no-till super soil
- gloves, I use my hands as a shovel but you do you fam
- a watering can and some organic kelp or aloe based nutrients
- container or pot that is roughly the same size as your starter pot
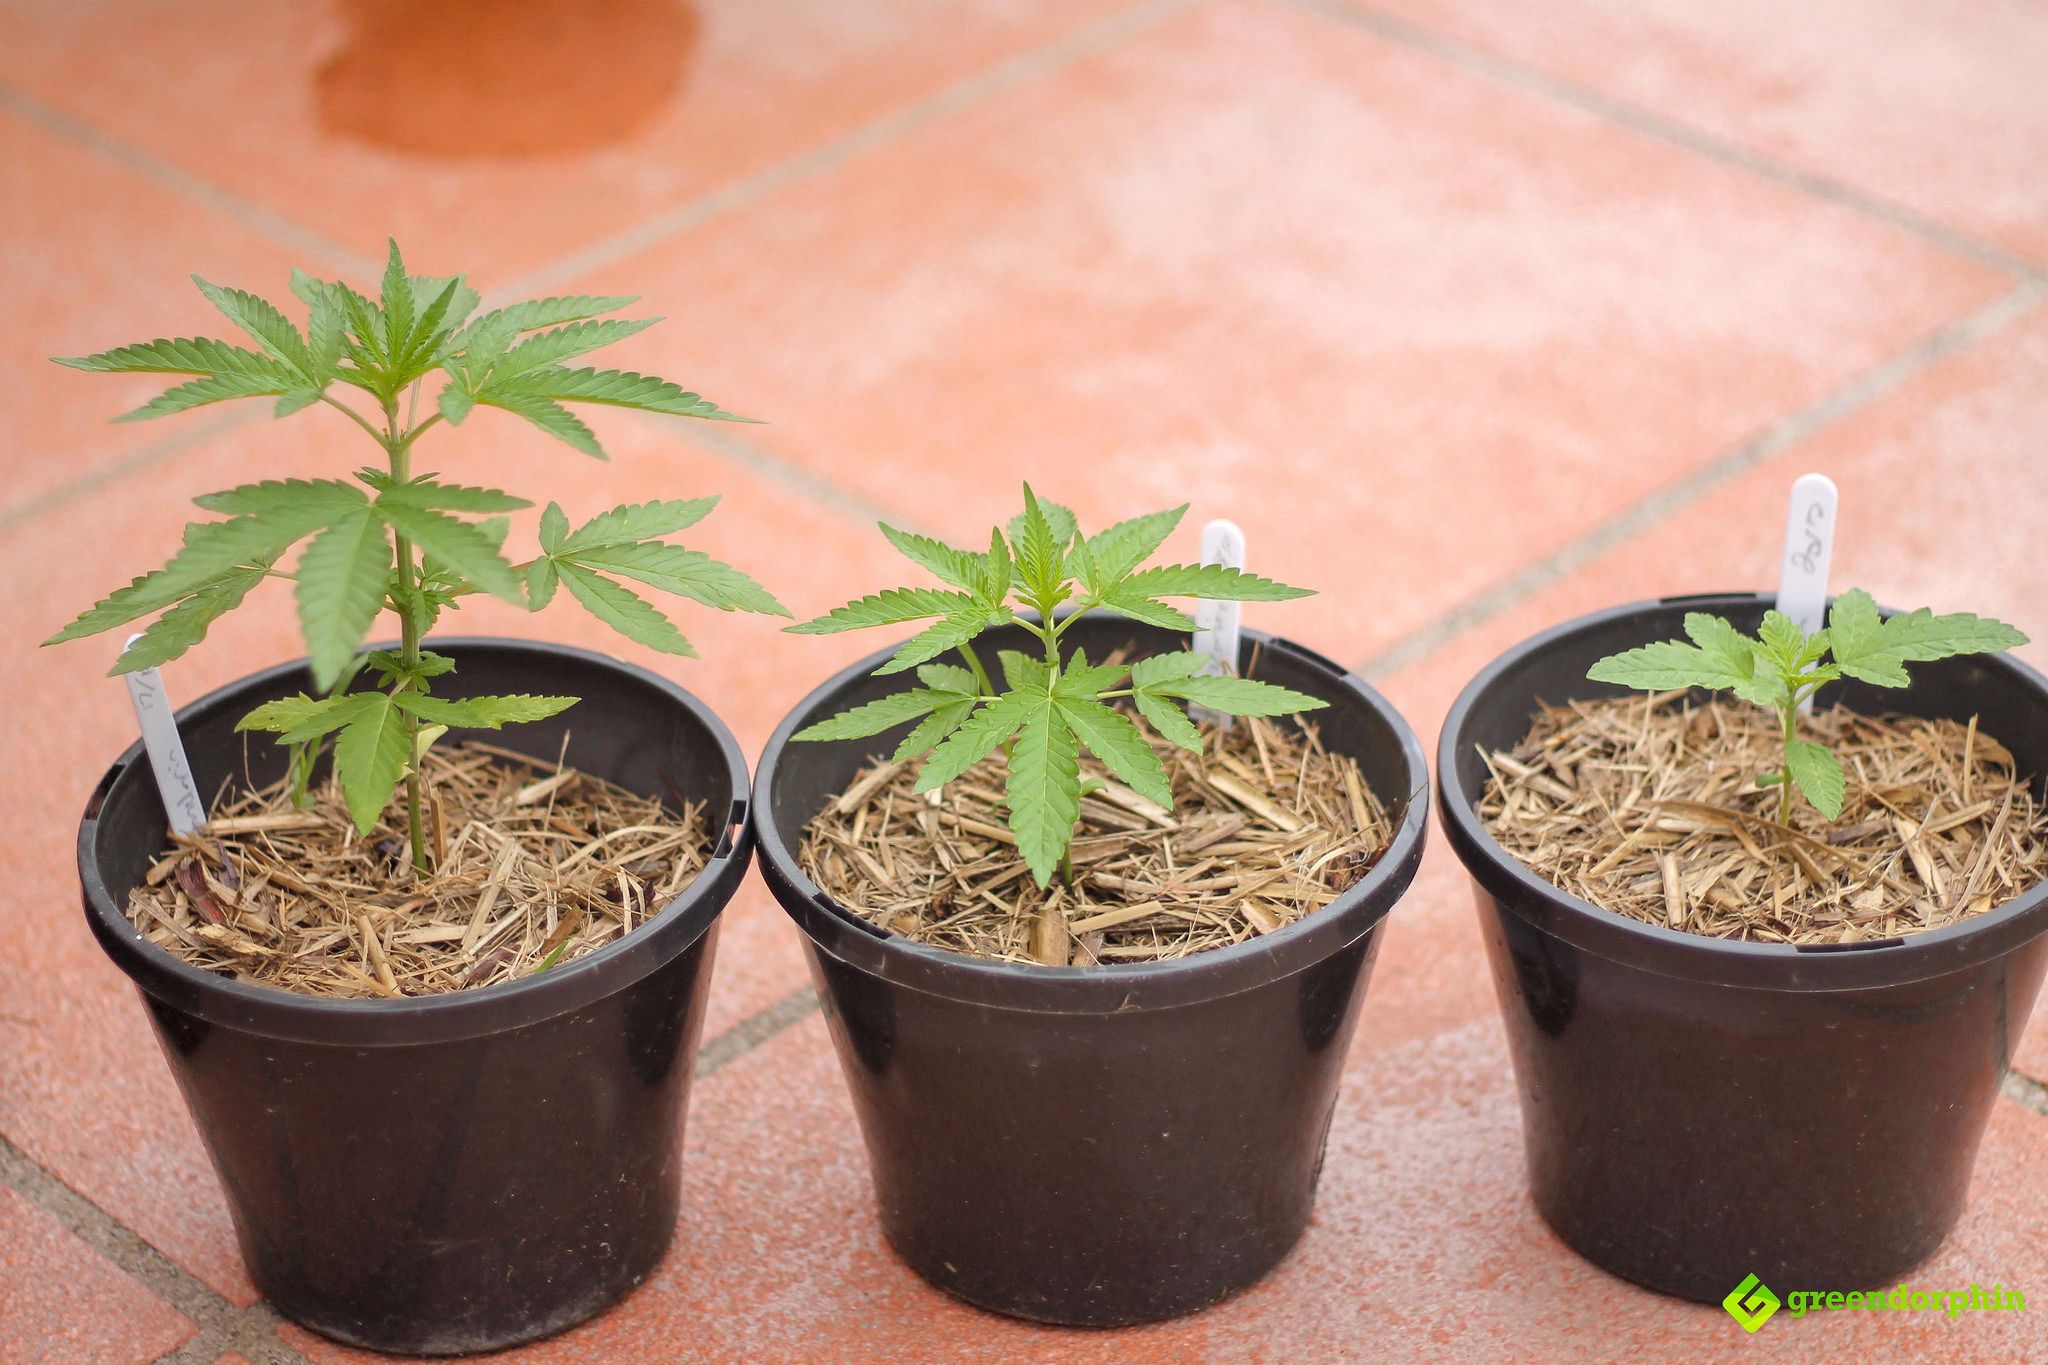
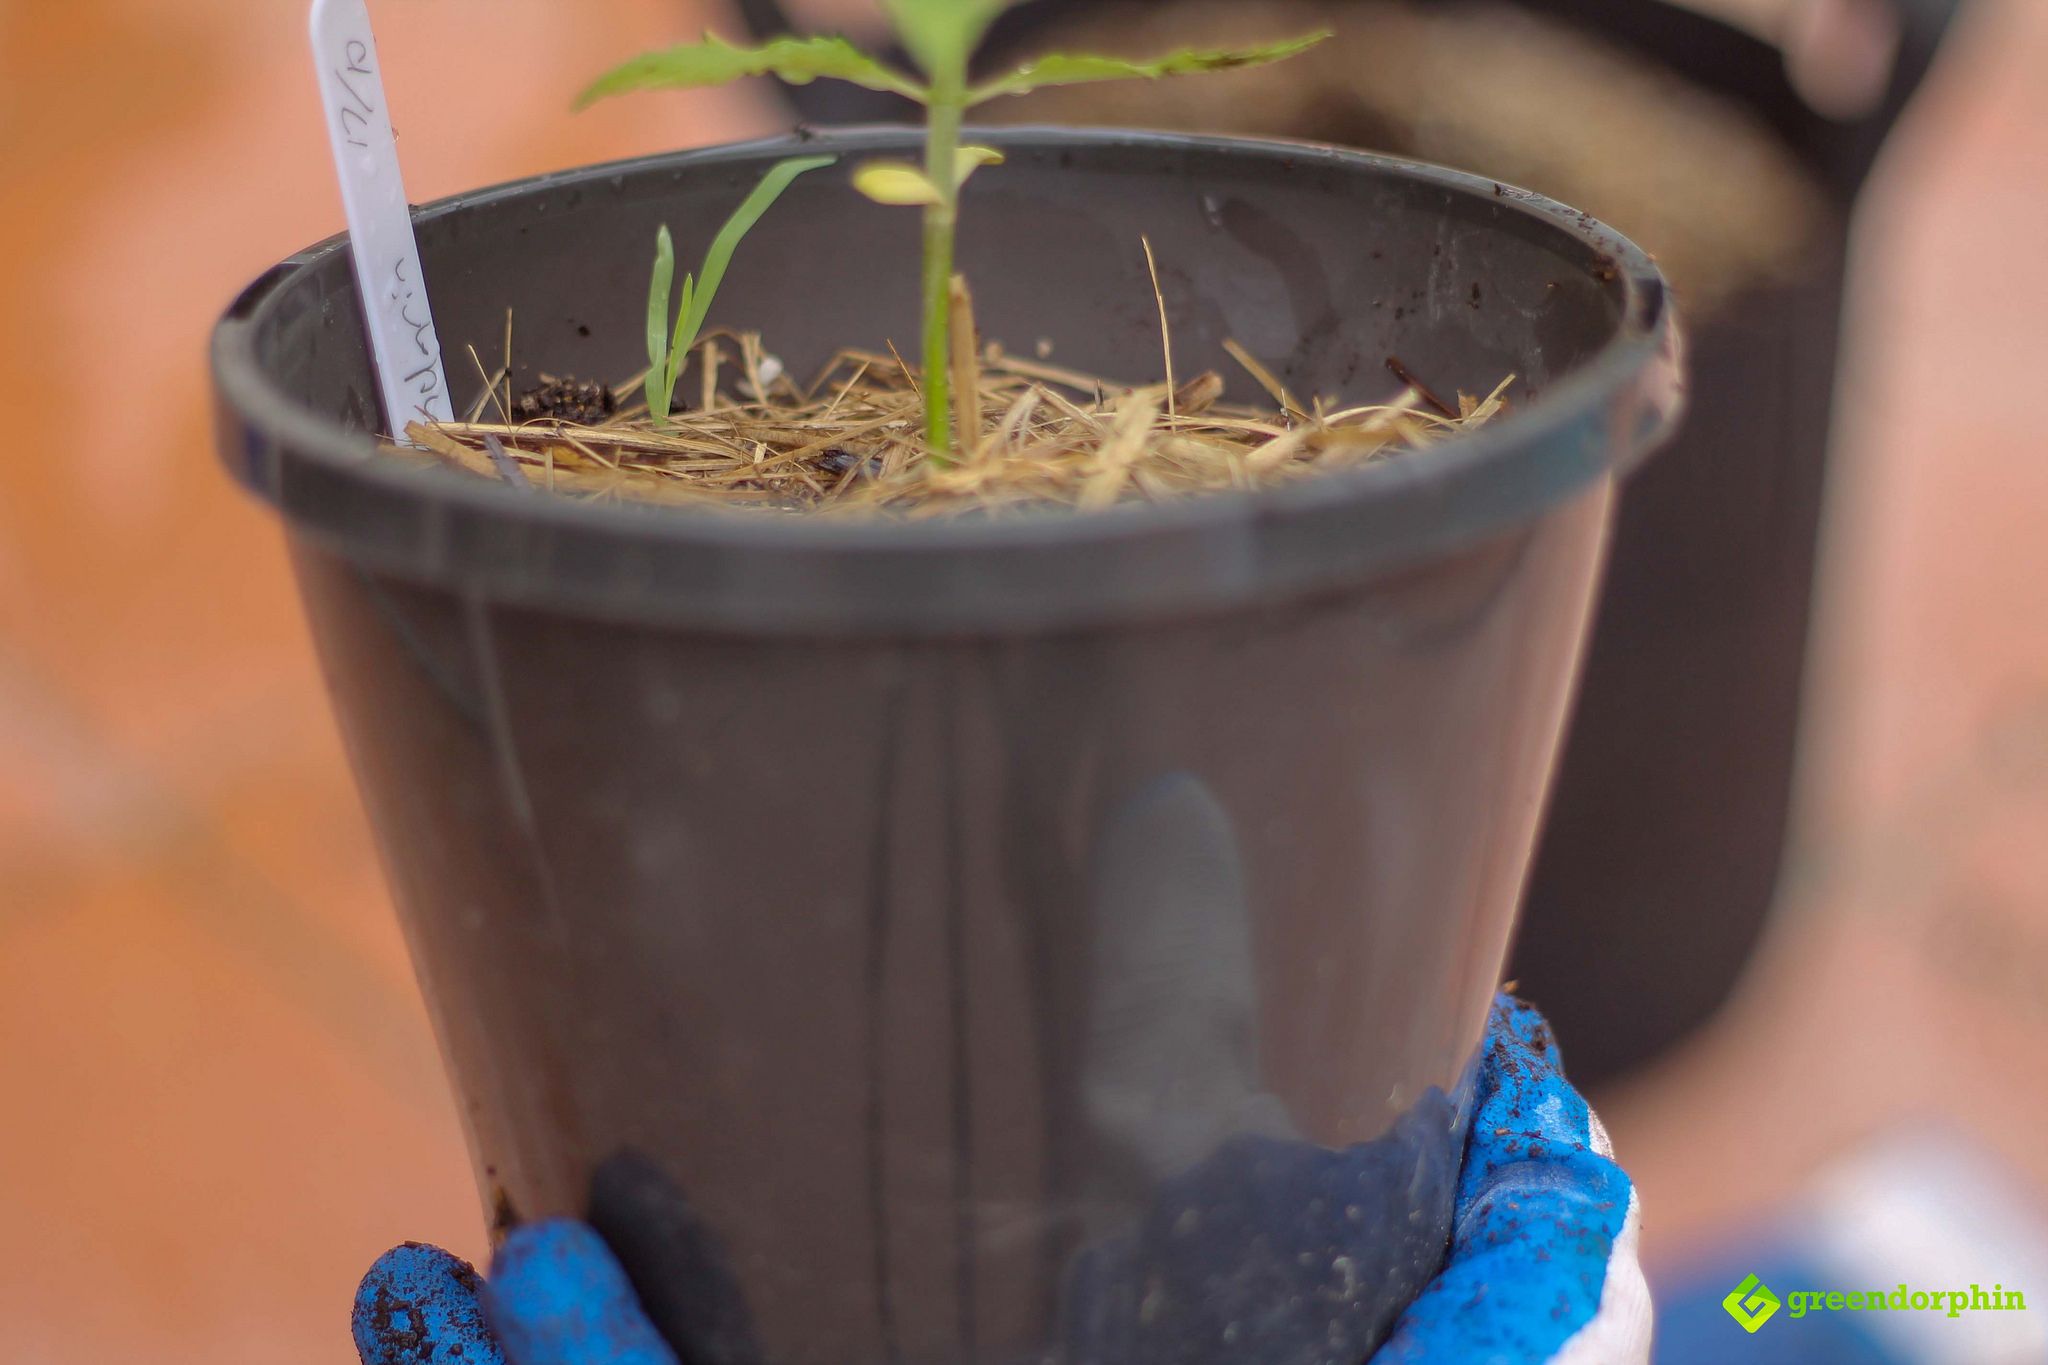
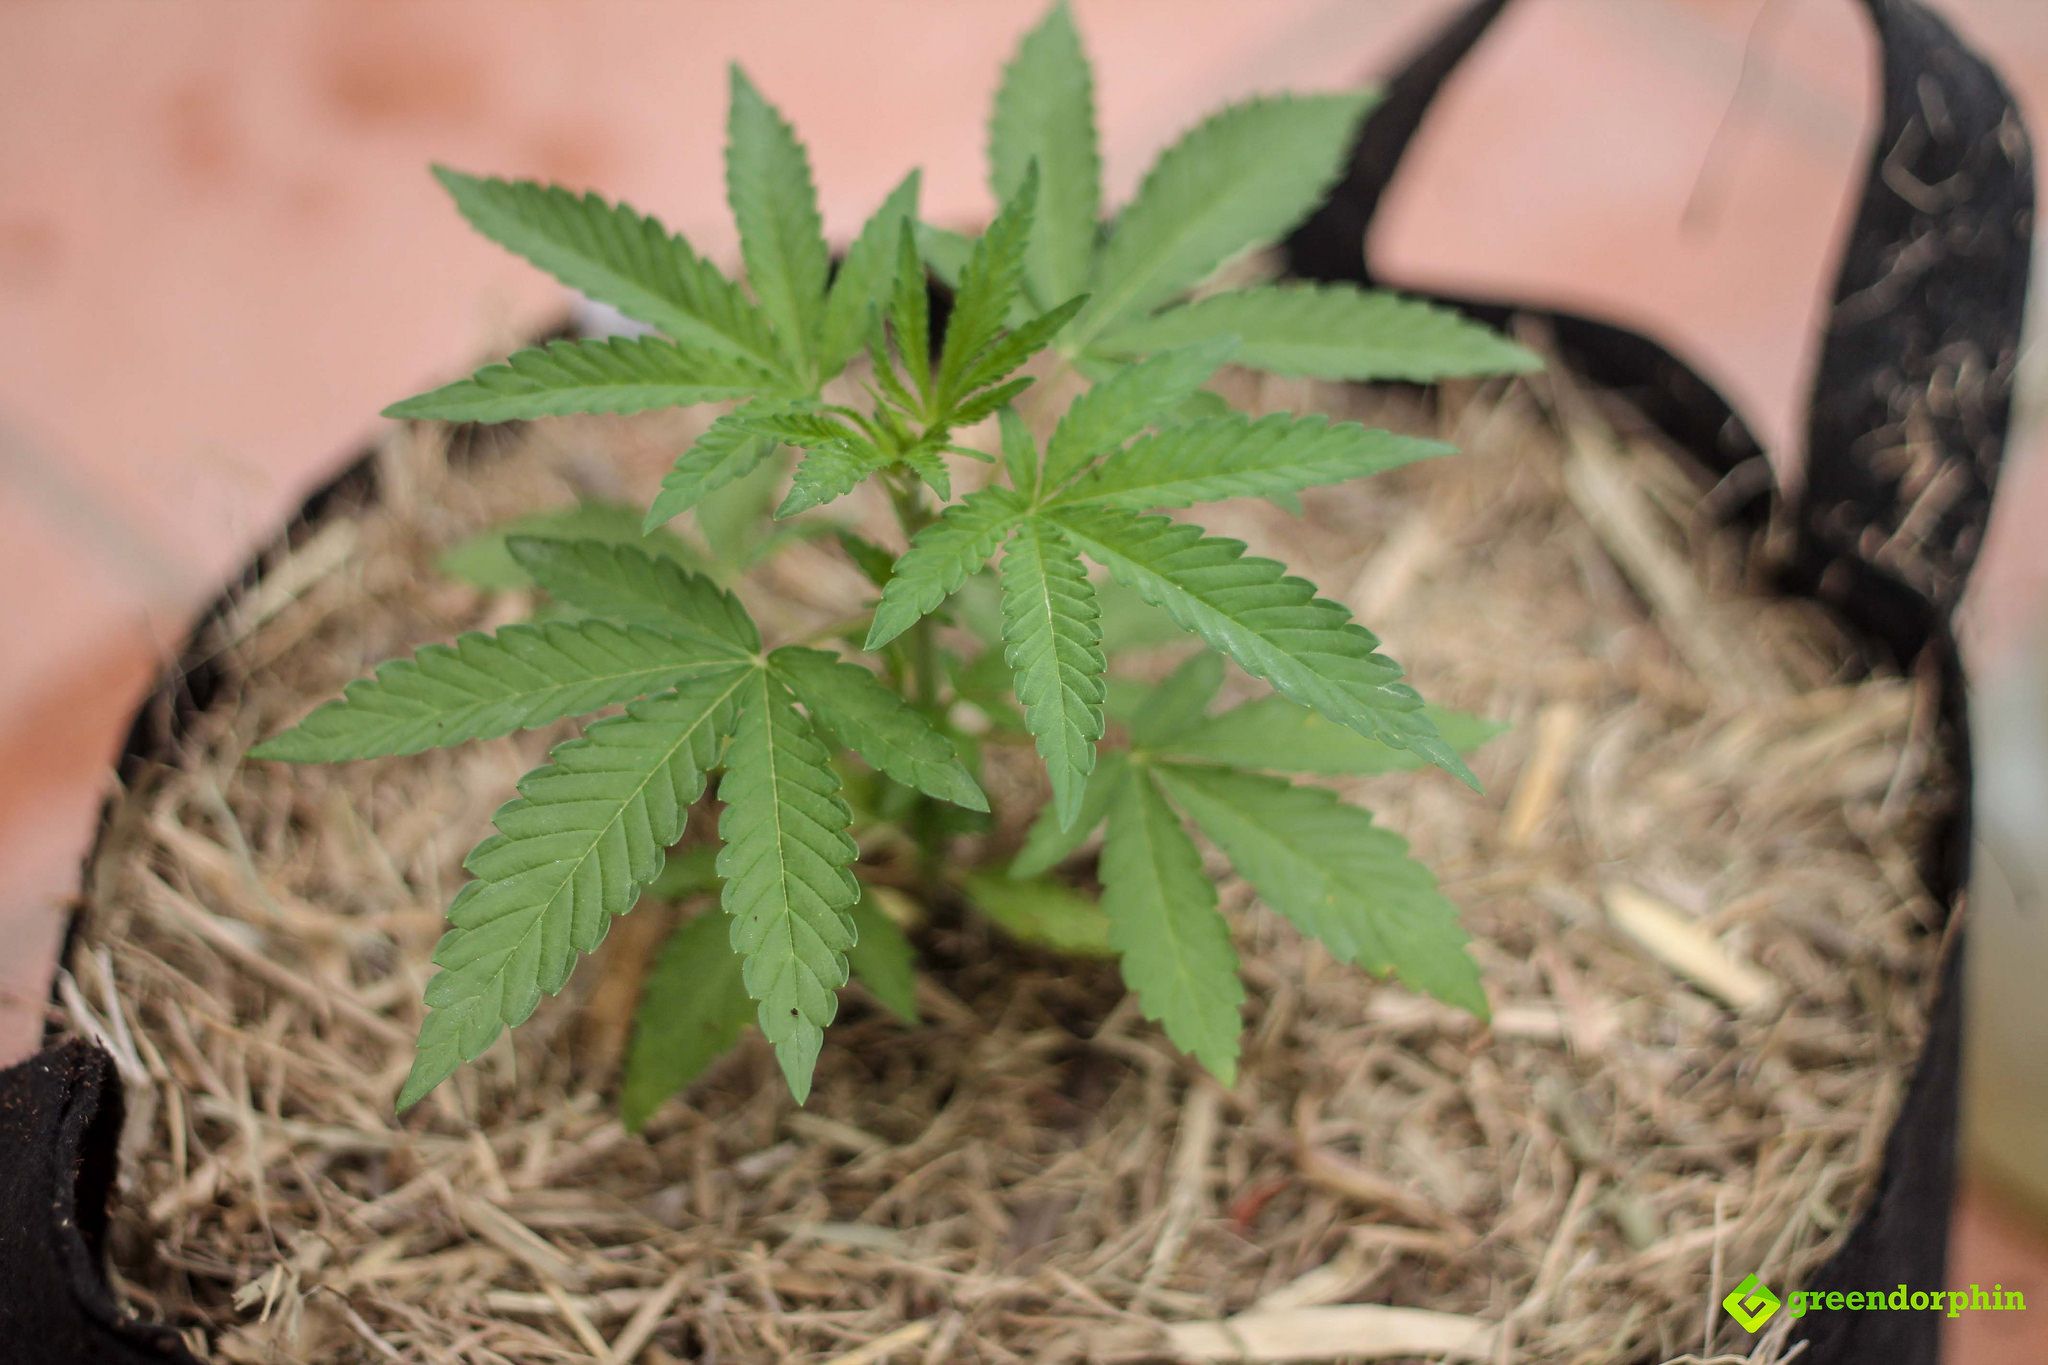
7) Select Your Plant for Repotting
The first thing that you have to consider before you even think about transplanting your weed plant is whether or not it’s ready.
Looking at the three young cannabis plants above, there is an obvious difference between the three, and only the plant on the left has reached the stage that it could be repotted.
A good rule of thumb for assessing whether or not it’s time to repot your cannabis plants is the fourth-node rule.
Nodal growth refers to the growth of branches, which grow symmetrically until the flowering stage has begun. The first two plants are yet to reach the third node, while the Mandarin Sunset plant on the left is just ready!
Using a container that’s roughly the same size of your container you can see how much extra soil you will need to fill the finishing pot and can add your soil accordingly.
If you’re using a compost mix on the base of your pots to ensure late-harvest success, make sure you prepare your pot a couple of days in advance.
This will ensure that the nutrients from the soil have time to blend with the compost and reduce the risk of burning your plant’s roots.
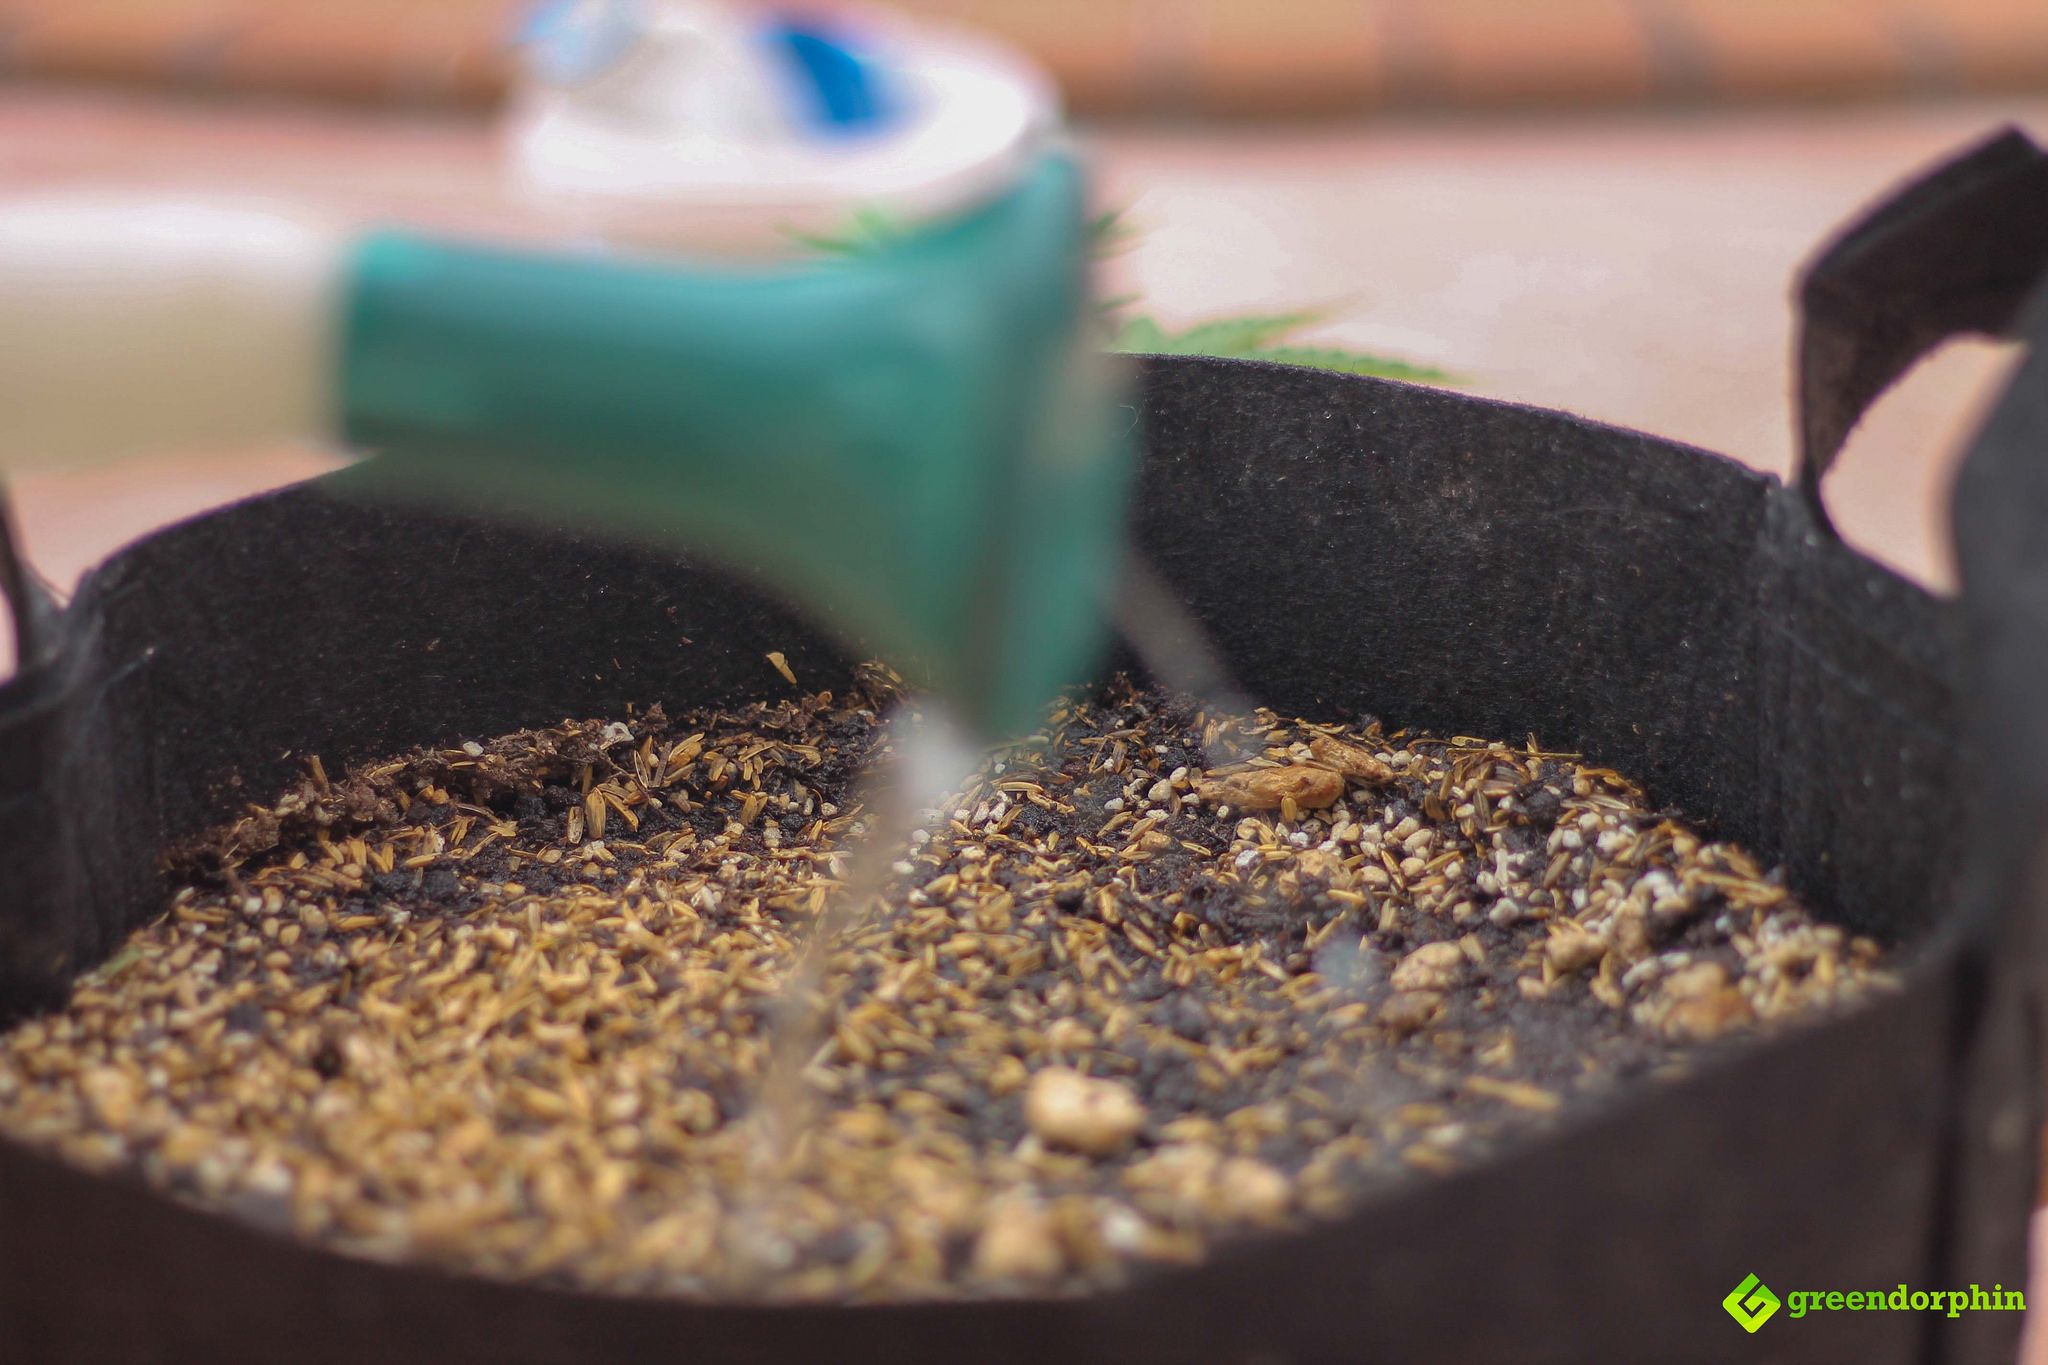
6) Wet the Soil
Making sure your medium is moist is one of the most crucial steps when you’re looking to repot your cannabis plants, but it’s a step that is often forgotten.
Planting into moist medium ensures steady growth and less environmental stress factors as a result of the repotting.
Watering your starter pot prior to transferring it ensures that all the medium and roots will stick together, decreasing the likelihood of root-rip and stunted growth.
5) Dig a Hole the Size of Your Starter Pot
Using the same container that you used to gauge the amount of soil you need for your finishing pot to displace some soil.
Wetting the soil prior to doing this simplifies the process tenfold as the soil will stay in any shape you choose. Think of a sandcastle when water is introduced.
Fill your starter-pot-sized container full of soil and keep said soil for some top-ups a little later on down the line.
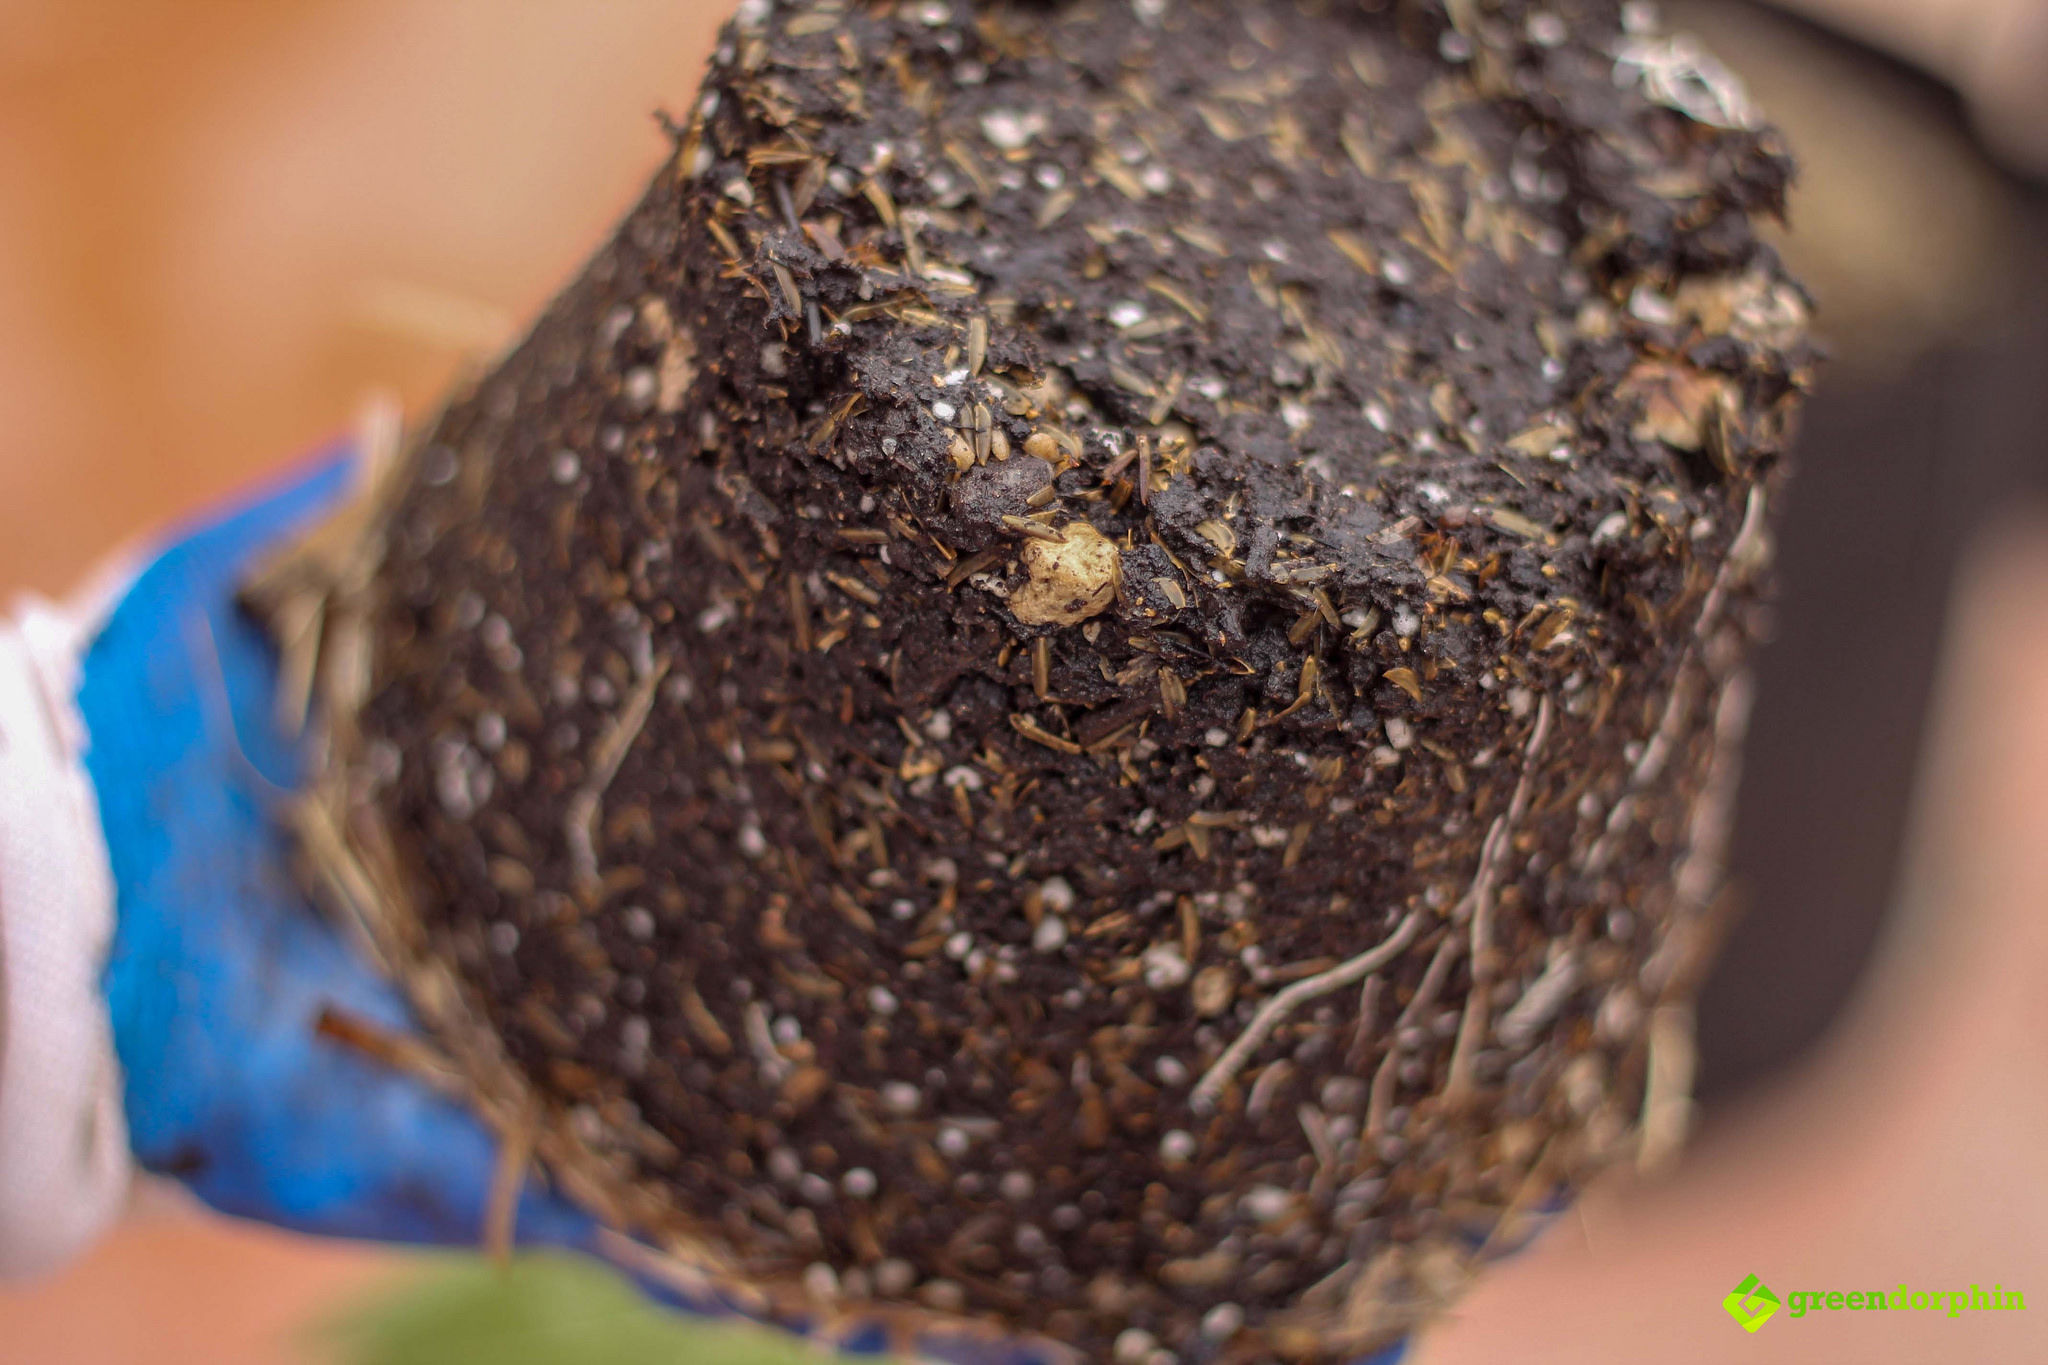
4) Loosen the Soil
By gently squeezing your cannabis plant around the base of the starter pot the soil will loosen and become more malleable.
Squeezing too hard can tear your precious roots, but this is a necessary step if you’re looking to keep the root-ball and moist soil intact.
Plant pots are designed in this conical style for a reason, so don’t think of repotting your weed plant as an arduous task. It can be relatively simple as long as you remain cool, calm, and collected.
3) Flip & Tip
When you repot your cannabis plants you have to do your best to protect the roots from any damage. That being said, if you do lose a couple of roots in your starter pot it is certainly not the end of the world.
When removing your plant from the starter pot, be very gentle and calm and try to pry the soil out of the pot like toothpaste from a tube.
Never shake the plant as it can snap your root system. Simply rotate the pot in your hand while the other hand secures the stem and soil on top and invert the pot until the whole mass plops out.
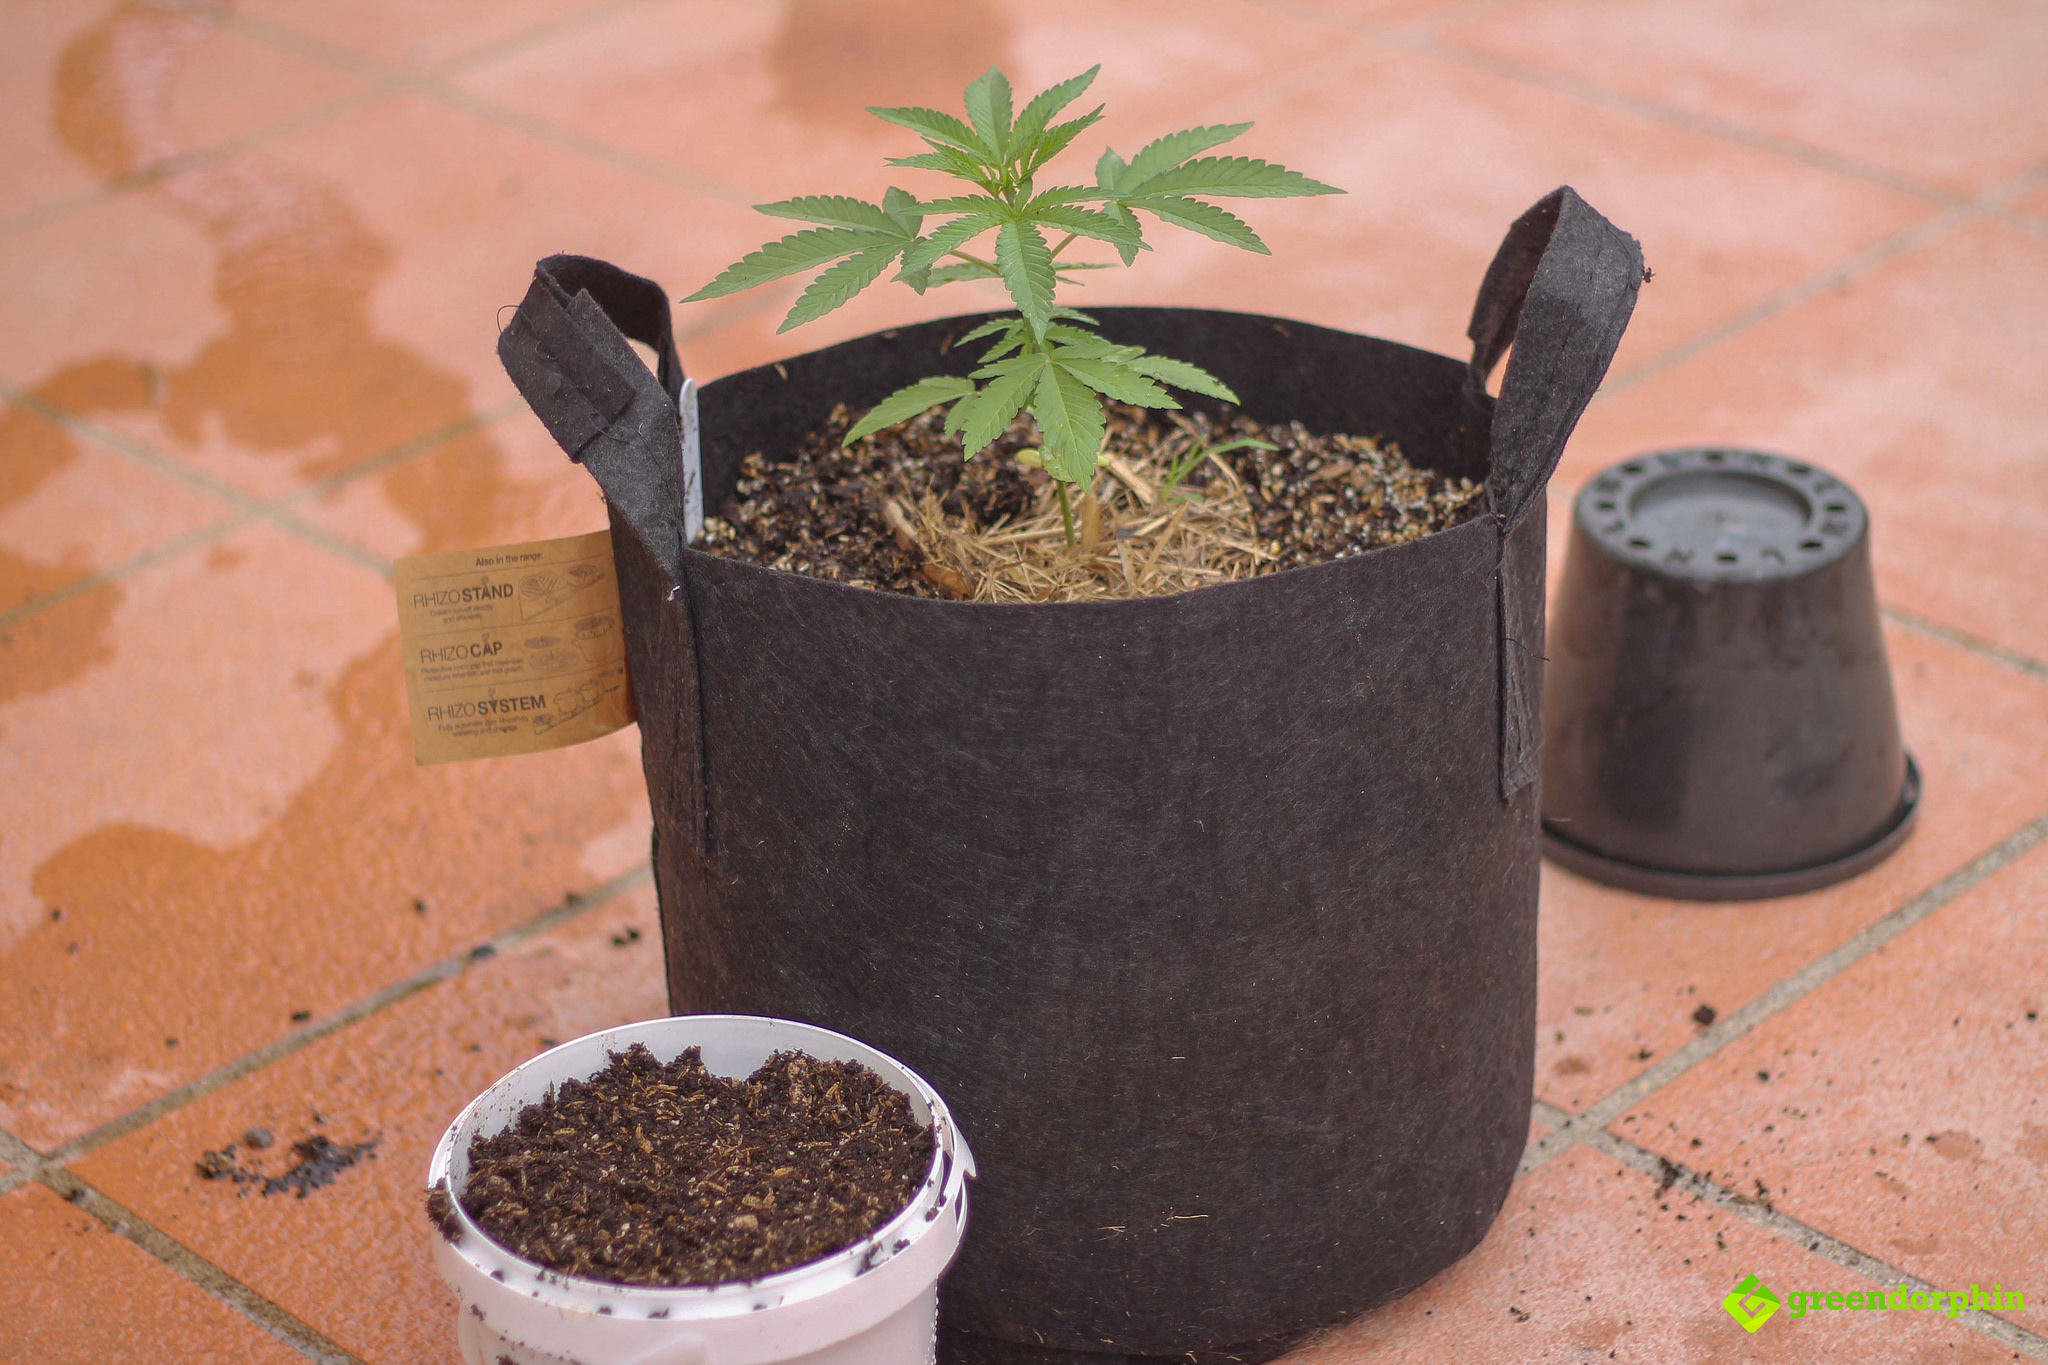
By sizing the hole accordingly the plant will just slide on in with relative ease. At this stage you should use some of the extra soil to fill in the hole and pack a half-inch layer around the base of the stalk.
This ensures the roots will remain moist and cool and will stimulate growth. If you have any left-over soil don’y despair, simply refill your starter pot and plop in another seed!
At this stage you should be careful not to press the soil with too much vigor as you can undo all of your hard work and snap the roots. A few gentle presses will suffice.
2) Plant and Cover
After using the displaced soil to gently pack your transplanted cannabis plant into its new home you should use some kind of mulch to aid with water retention.
Now, this is less of a concern in Europe and some parts of North America and Canada, but in Australia, South Africa, and the West Coast of the US the harsh sun dictates that steps must be taken to ensure high moisture levels in your soil.
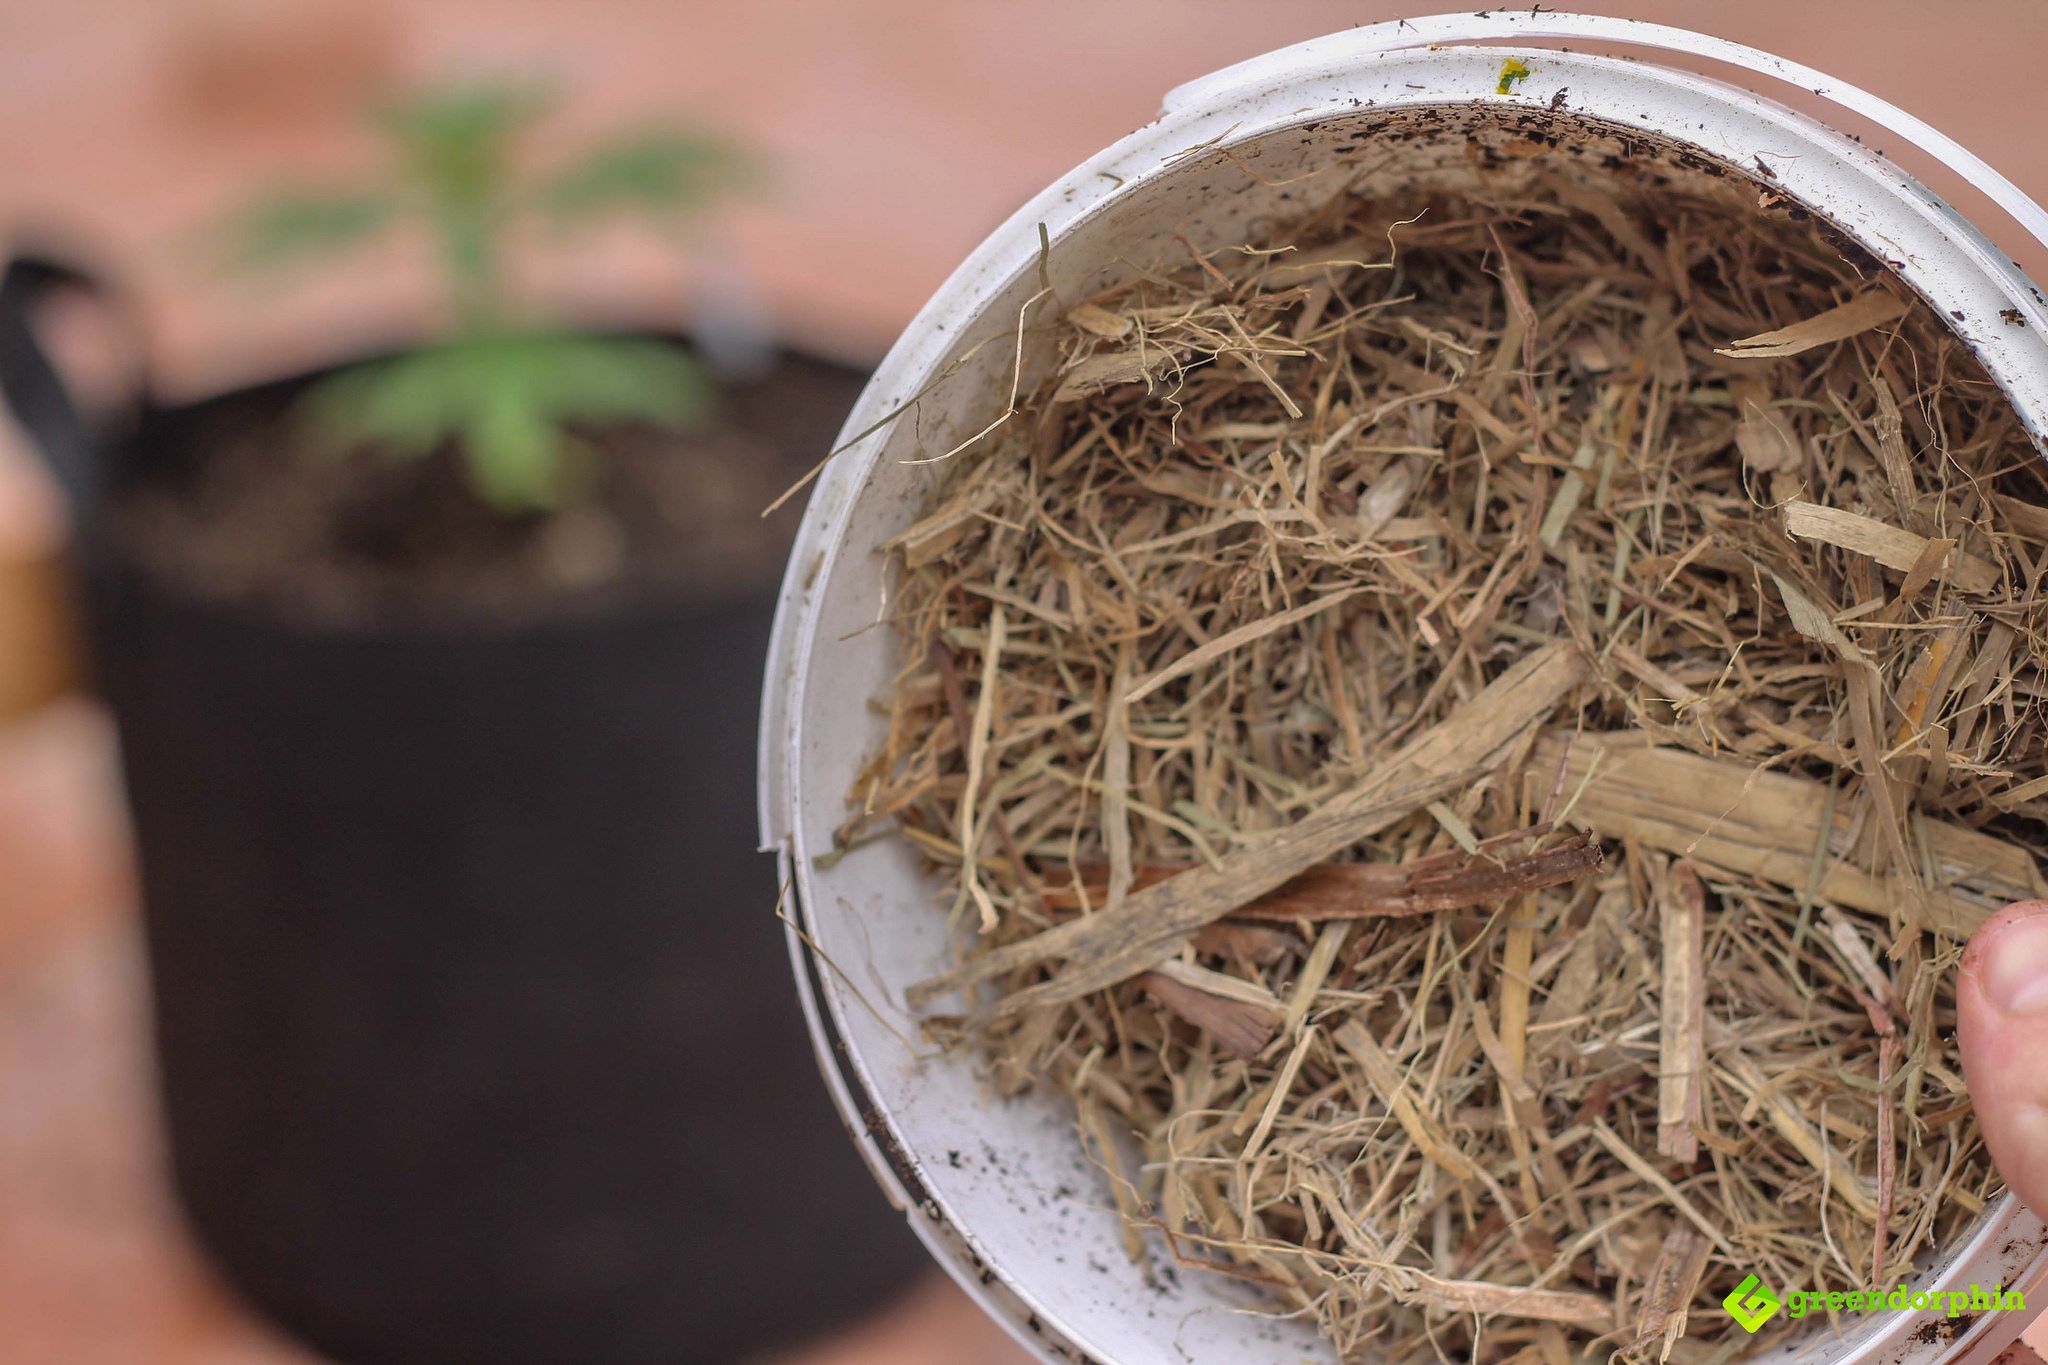
Using a simple organic mulch like sugarcane mulch or even bamboo mulch you can create a barrier of protection from the sun and assist in slowing down the precipitation process.
To be honest, you should always use a wetting medium like mulch unless you’re dealing with a harsh rain season as excess moisture can result in mold forming which can then transfer to your prized flowers.
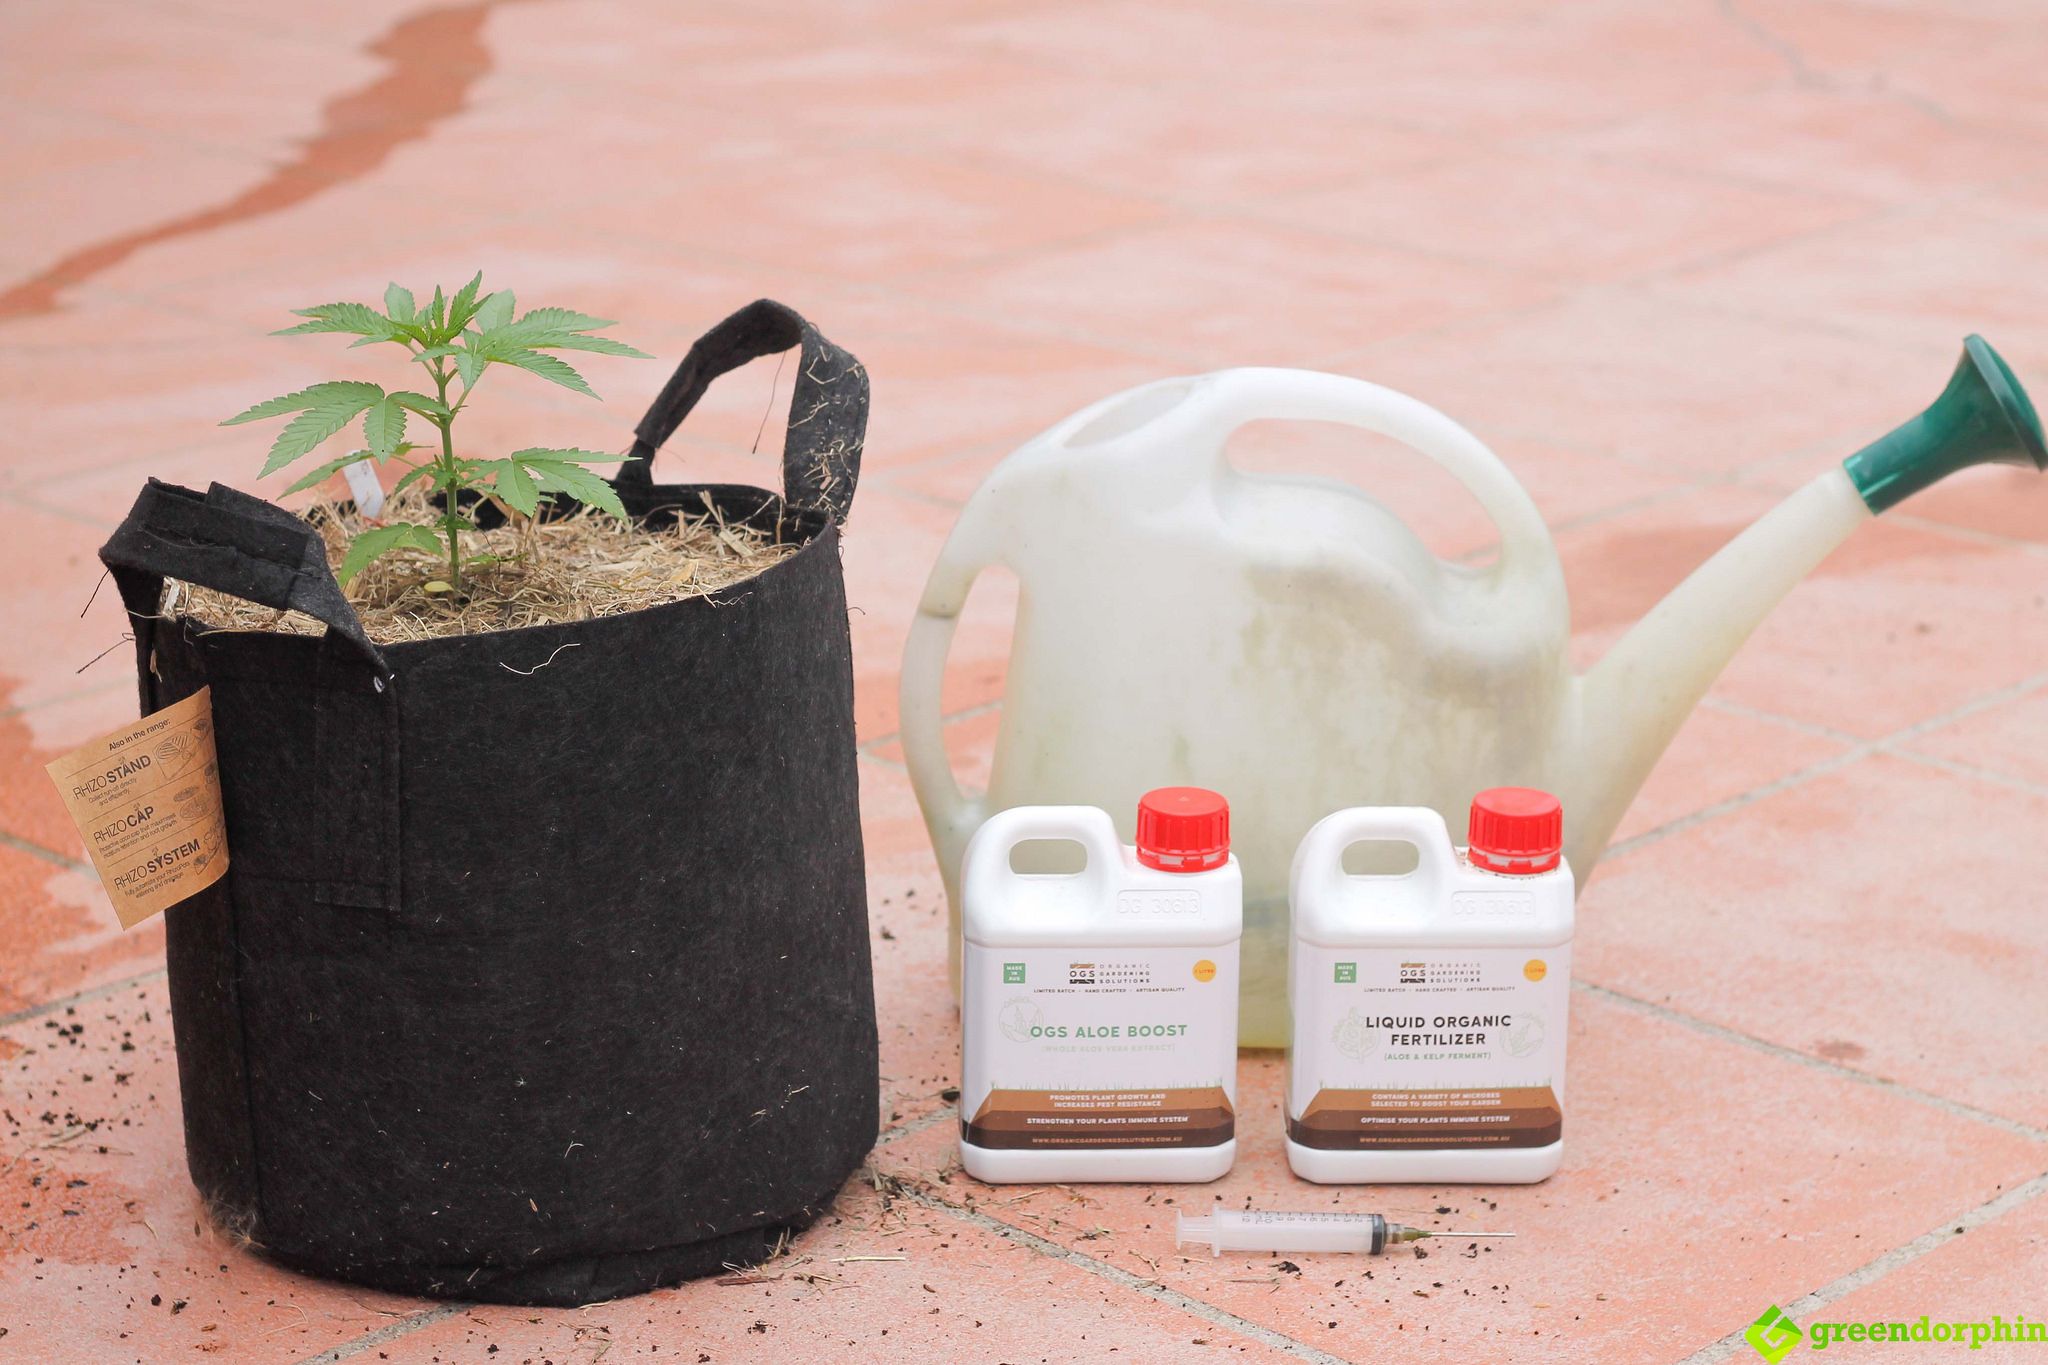
1) Treat the New Soil
Now that you’ve given your cannabis plant a new home you’re going to want to help replenish the soil and reduce any stress factors that your plant was exposed to.
When you repot your cannabis plants you are introducing the root system to a new environment which can be just as stressful for plants as it is for humans!
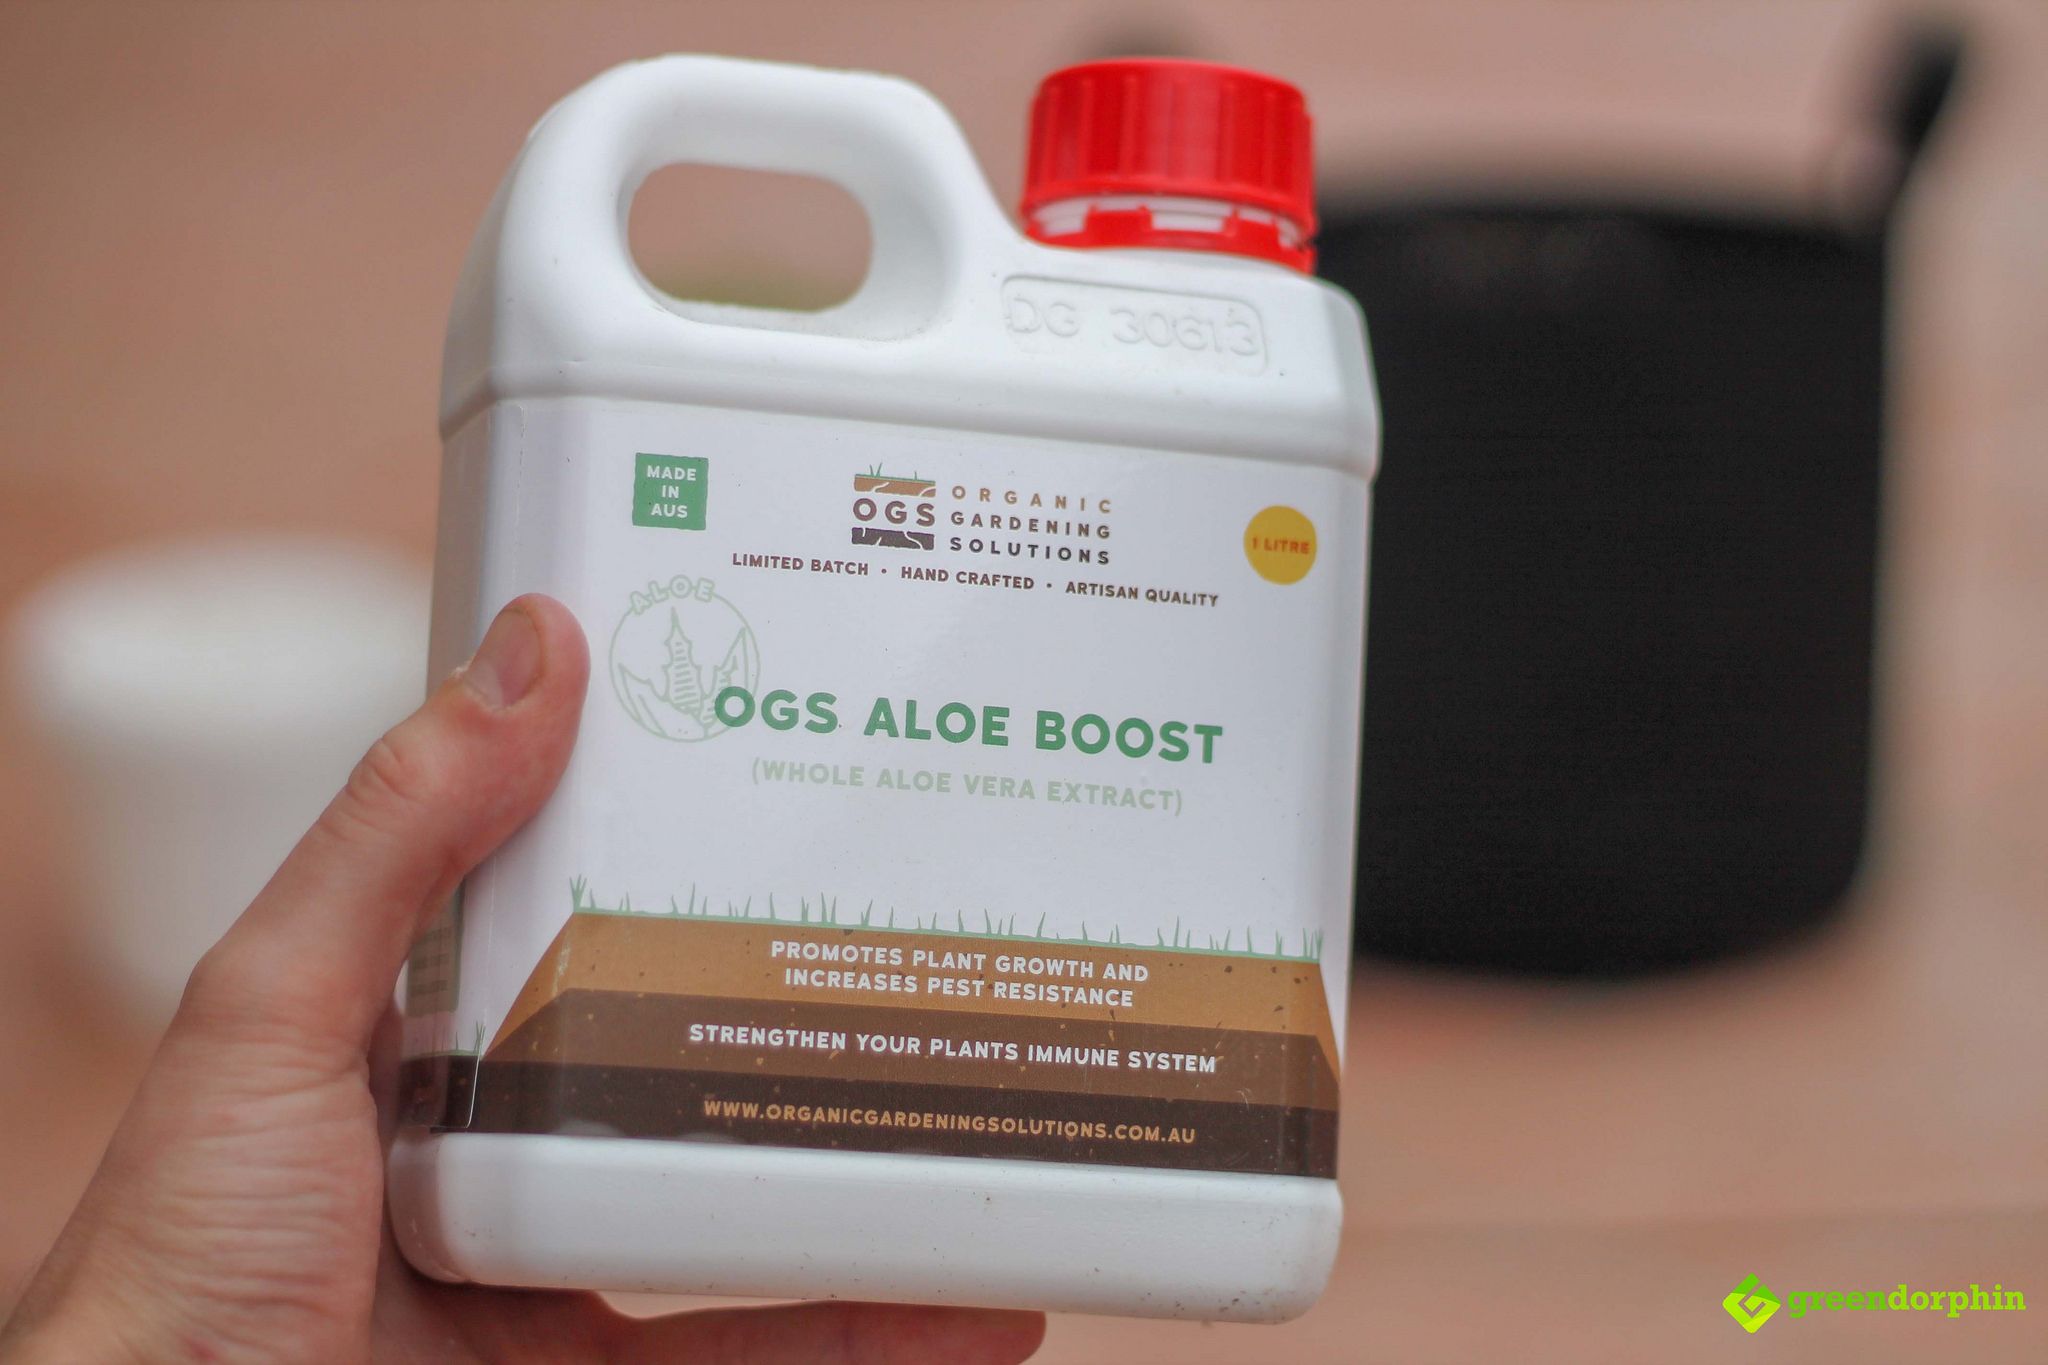
Using organic amendments that contain Aloe Vera and Kelp Extract will assist in strengthening your plants immune system and promoting growth.
While no-till soil is amazing for growing your cannabis, incorporating simple amendments like Kelp and Aloe ferment into your feeding schedule can pay massive dividends.
Greendorphin’s go-to for all things organic gardening is Organic Gardening Solutions. The OGS crew have created a bunch of ingenious ferments and amendments that are ethically sourced and perfect for your cannabis plants.
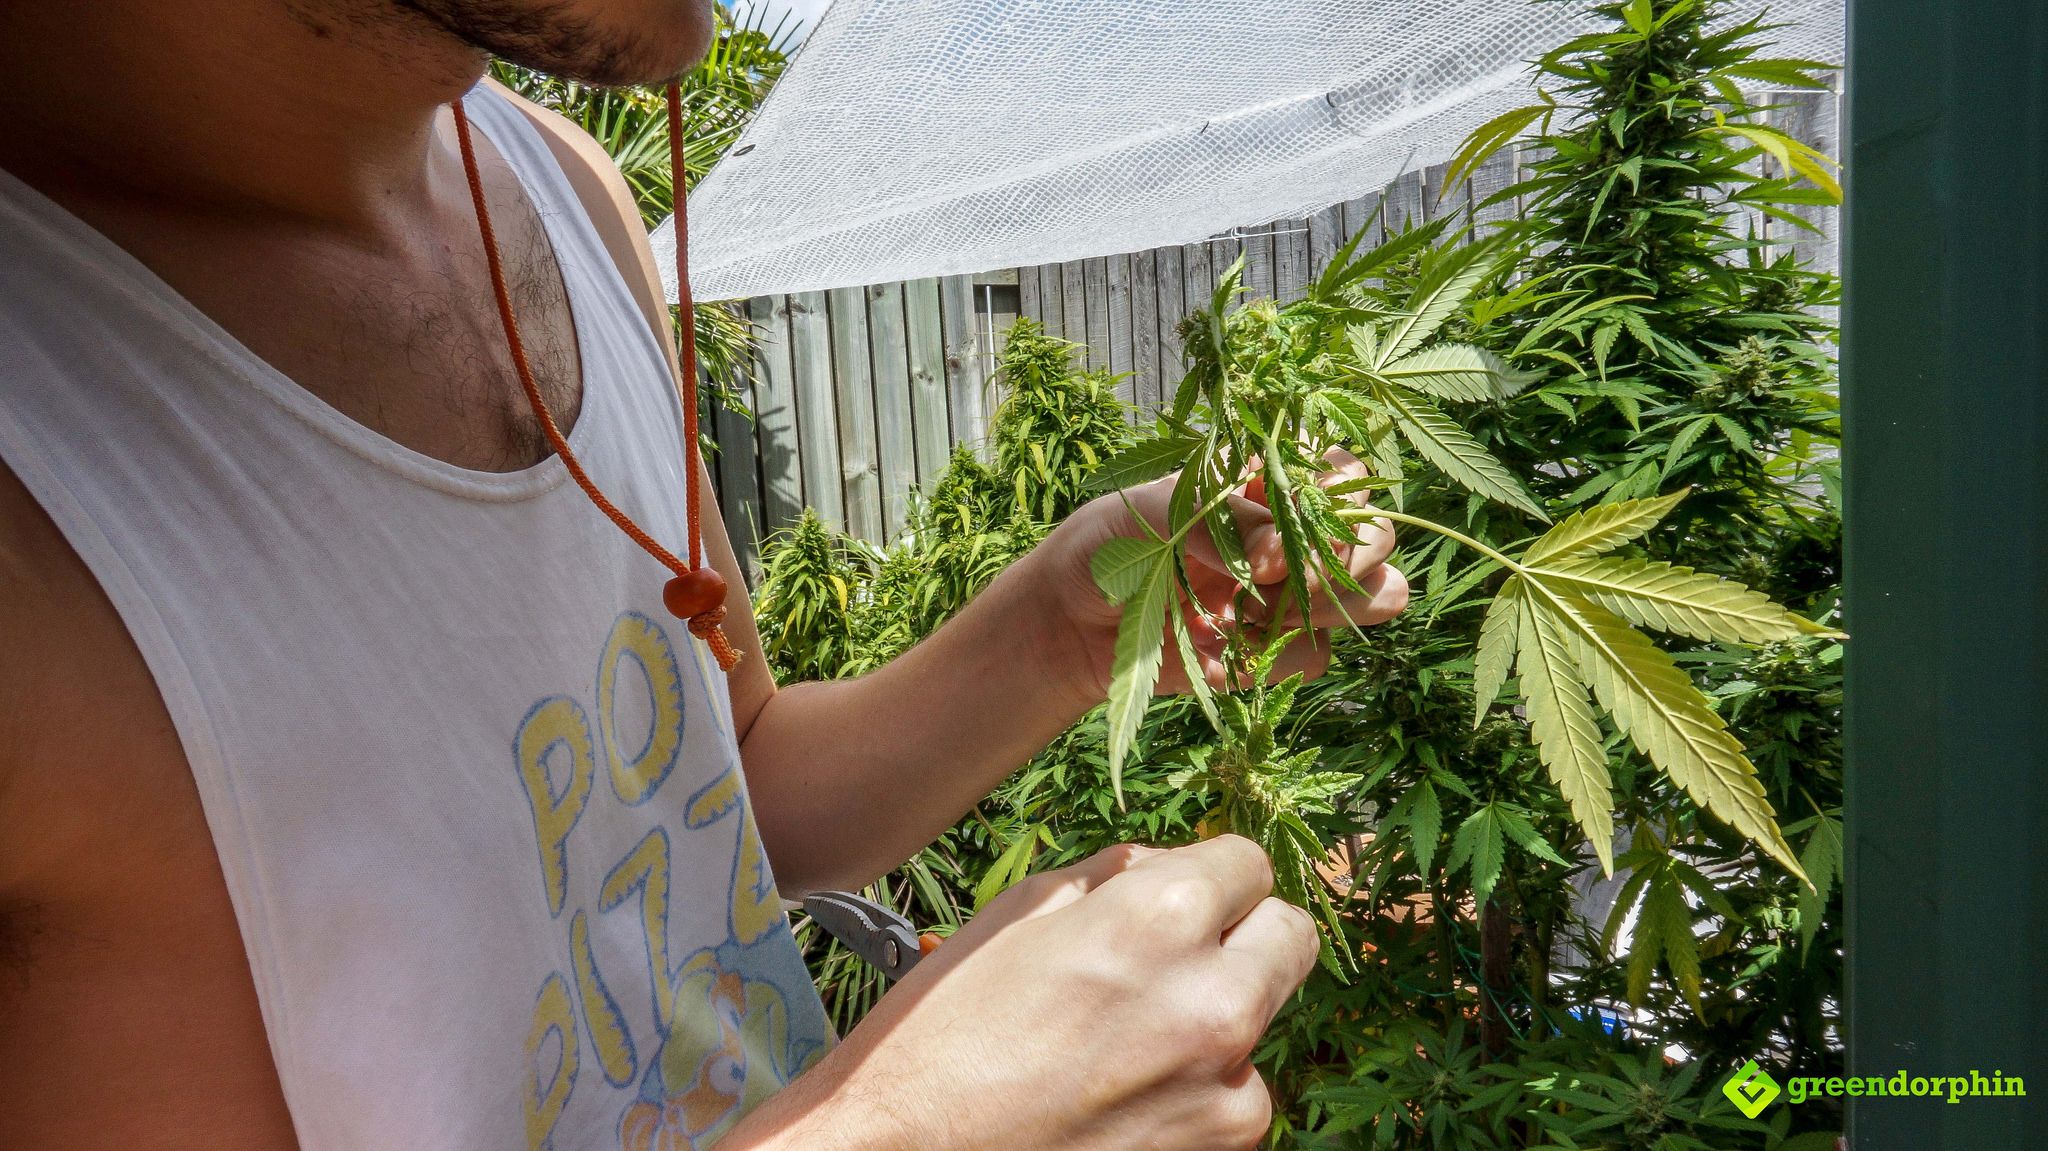
Now that you’ve transplanted your cannabis plant to its final home you can get to work on amending your soil to suit the growth stage.
As this plant is still in the early vegetative stage there is not much that can be done, but as growth continues you can get to work brewing some compost tea to boost the living microbes in the soil.
Noticeable growth will take a few days to commence, but now that your plant has a much larger space to grow and flourish in the results will be amazing.
What Are Your Quintessential Repot Hints & Tips? Let Us Know in the Comments Section!
- Dr John Teh & PlantMed Medicinal Cannabis Clinic: Greendorphin News Podcast #1 - February 7, 2019
- Anatomy of the Cannabis Plant: Grow with Greendorphin - December 6, 2018
- High Hemp Organic Wraps Review CBD+ [VIDEO] - November 26, 2018
Plant not growing after re potting